Achievable weekend projects – $100 budget
The first in our passive design series, try our step-by-step guide to creating a DIY Wicking Planter Bed.
A wicking bed passively draws water upward from a reservoir—ideal for sustainable gardening and reducing irrigation in hot Sunshine Coast conditions.
1. Project Overview
You’ll create a 600–900 mm long wicking bed using a recycled timber crate or plastic tub, gravel reservoir, geotextile fabric, soil, and a simple PVC fill pipe.
Sustainability benefits:
- Deep mulch + efficient watering cools the micro‑environment.
- Reduces water consumption dramatically.
- Uses recycled materials where possible.
2. Planning (30 minutes)
- Choose location
- Select a sunny spot (at least 4–6 hrs/day).
- Avoid placing directly against timber walls to prevent moisture buildup.
- Pick container size
- A wooden crate, polystyrene produce box, or plastic tub around 60–90 cm (L) and 30–40 cm deep.
- Check your tools
- Hand saw or PVC cutter
- Drill
- Utility knife
- Tape measure
3. Materials & Local Sourcing
🌱 Soil, mulch & gravel (local landscape suppliers)
- Caloundra Landscape Supplies , 8 Helen St, Caloundra West QLD 4551 — stocks soil, gravel, mulches, and offers same‑day delivery.
- Nambour Landscape Supplies , 5A Windsor Rd — soils, gravel, mulch (open Saturdays).
- The Rock Landscape & Garden Supplies , 5 Corbould Rd — long‑established, wide range of materials.
🔧 Hardware (Bunnings)
- Bunnings Maroochydore, 70–98 Dalton Dr — wide range of DIY hardware, tools, PVC, liners.
4. Shopping List (Total - $90 - $100
| Item | Qty | Approx. Cost |
| Recycled crate / tub | 1 | Free–$20 (Salvage or reuse) |
| 20 mm drainage gravel | 1 bag | ~$10–$15 |
| Geotextile / weed mat | 1–2 m² | ~$10–$15 |
| Good quality soil mix | 1–2 bags | ~$8–$16 |
| Compost | 1 bag | ~$6–$10 |
| Mulch (sugar cane / woodchip) | 1 bag | ~$8–$12 |
| PVC pipe (40–50 mm) | 1 × 60 cm | ~$6–$8 |
| End cap for pipe (optional) | 1 | ~$2–$3 |
| Landscape plastic liner | 1–2 m² | ~$10–$12 |
Where to source cheap or recycled timber crates and containers
- Sunshine Coast Demolition & Salvage , Nambour
- Buderim recycle market , Buderim
- Facebook marketplace
- Gumtree
- Freecycle
5. Build Steps (2–3 hours)
Step 1 — Prepare the container
- If using timber, line internally with thick plastic to waterproof the reservoir section.
- Drill a 10–12 mm overflow hole approx. 100 mm above the base (critical wicking bed feature).
Step 2 — Install the reservoir
- Add 10–12 cm of drainage gravel to the base.
- Insert the PVC fill pipe—stand it vertically in the corner and let it reach the bottom.
- If you have an end cap, attach it to stop gravel entering.
Step 3 — Add geotextile layer
- Lay weed mat across gravel to prevent soil clogging the reservoir.
- Trim so edges sit up sidewalls slightly.
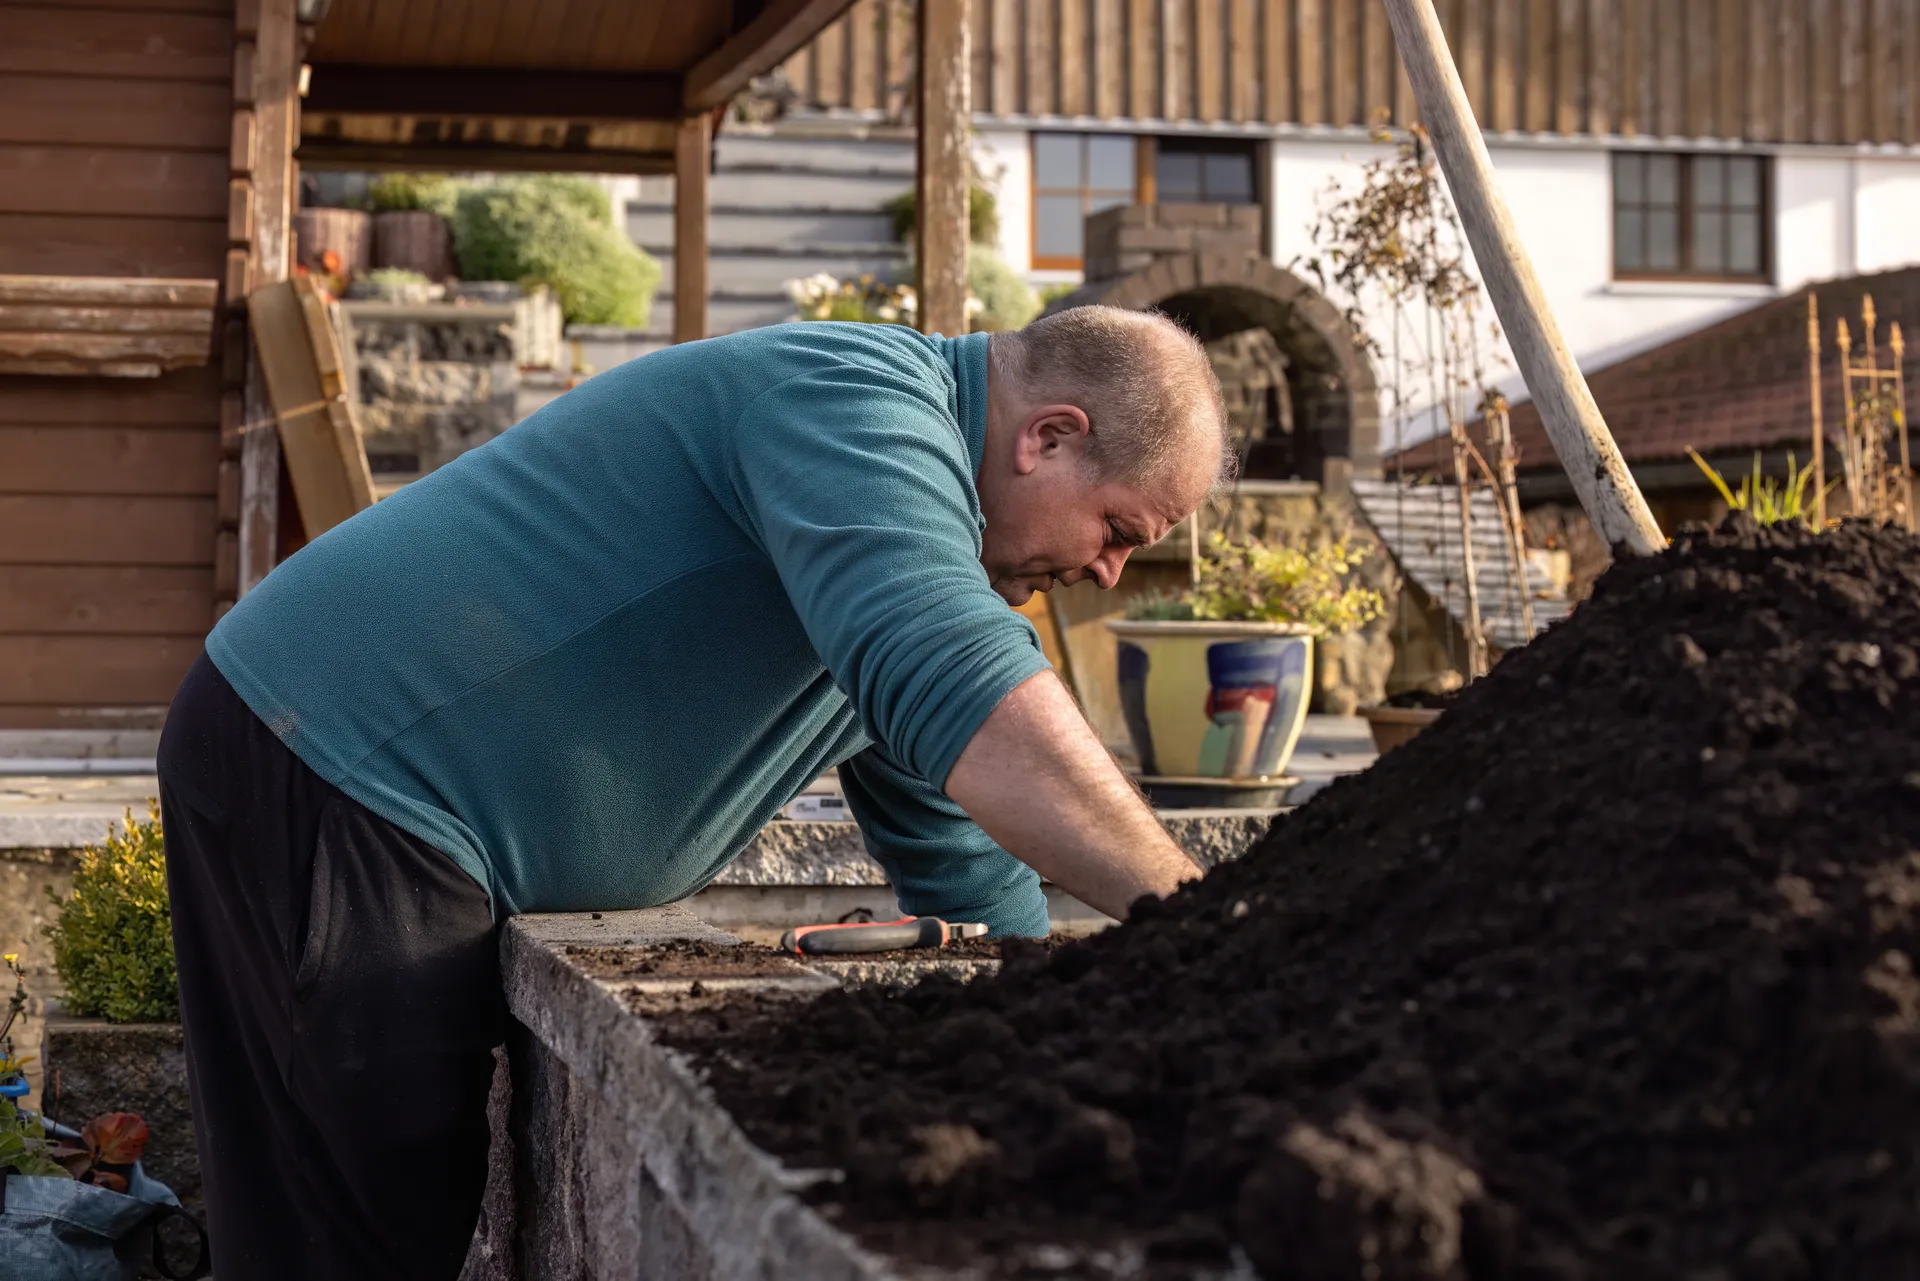
Step 4 — Add soil + compost
- Mix 70% soil + 30% compost.
- Fill to within 3–5 cm of the top.
- Lightly compress (don’t over‑compact).
Step 5 — Mulch the top
- Add 5–7 cm mulch to keep soil cool and reduce evaporation.
Step 6 — Fill and test
- Fill the pipe until water exits the overflow hole—now the reservoir is primed.
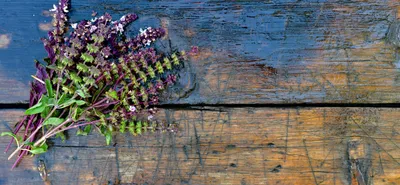
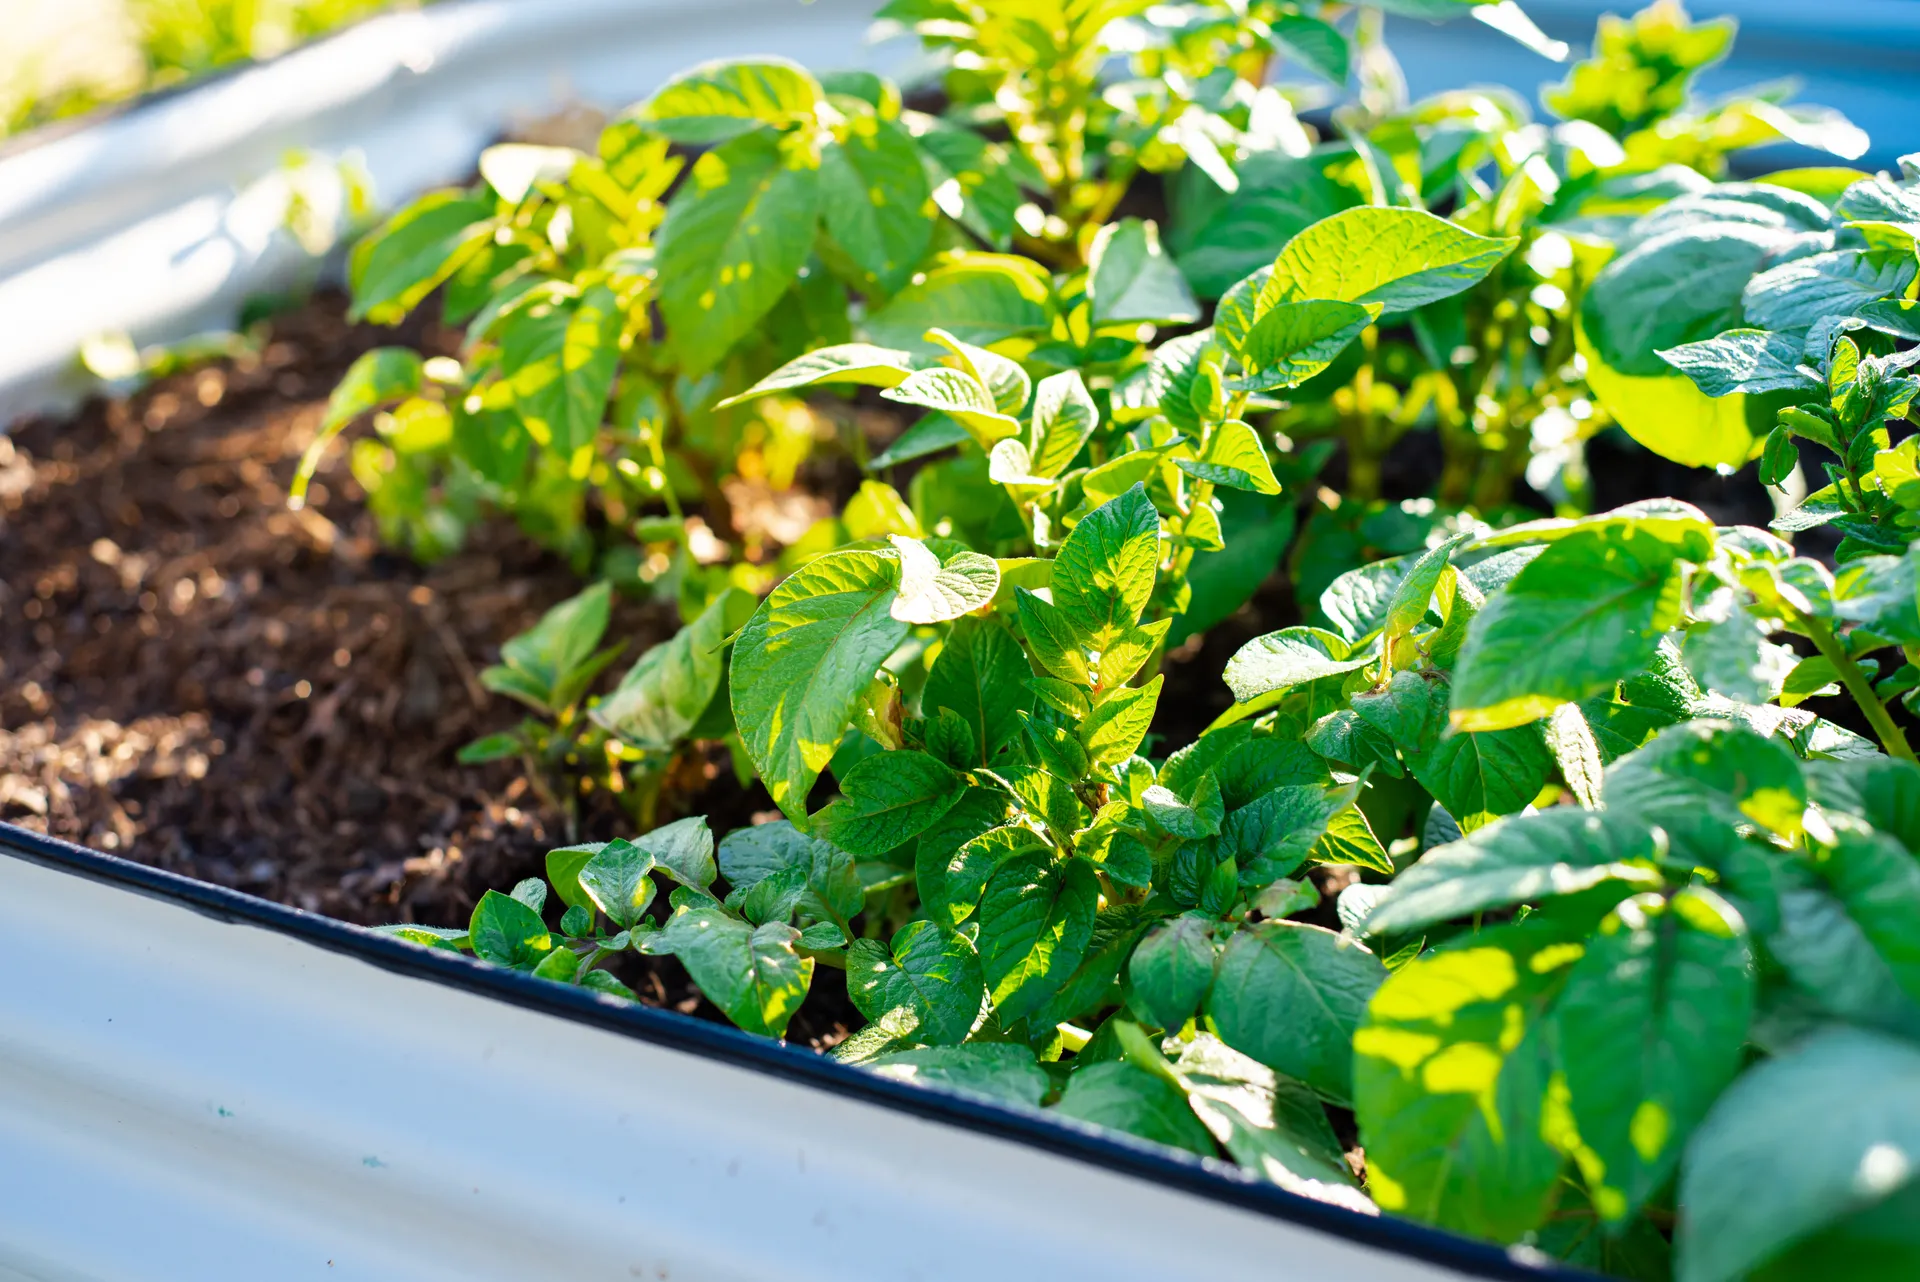
- Plant herbs, lettuce, cherry tomatoes, or pollinator‑friendly flowers.
6. Maintenance and Passive Design Wins
- Top up the reservoir every 5–7 days in summer.
- Mulch heavily for passive cooling.
- Place near hot walls to create a living “cool zone” that reduces radiant heat.