Build your own DIY worm farm

Nothing grows well in depleted soil. Find out how to turn every banana peel, carrot top and tea bag into a nutrient-rich fertiliser for your garden, then stand back and watch the results.
Q: I don't garden that much, is there any point?
A: Absolutely, If just 1% of Australians composted food scraps instead of throwing them in the bin, it would save 45 million kgs of CO2 being released into the atmosphere*.
You can turn kitchen scraps into garden gold
Instead of sending food scraps to landfill, a worm farm can transform them into fertiliser, reduce your household waste and save you money on garden products.
The best part? Worm farms don't need much space. They can live in a shady corner of the backyard, on a balcony, in a courtyard or even in the garage.
Build your own worm farm
You can buy ready-made worm farms from garden centres, but it's also easy to make one yourself.
You'll need:
- a foam fruit box or plastic storage tub.
- a tray to catch liquid underneath.
- a drill or screwdriver to make drainage holes.
- hessian, jute or an old cotton cloth.
- compost, shredded paper or cardboard, and dry leaves.
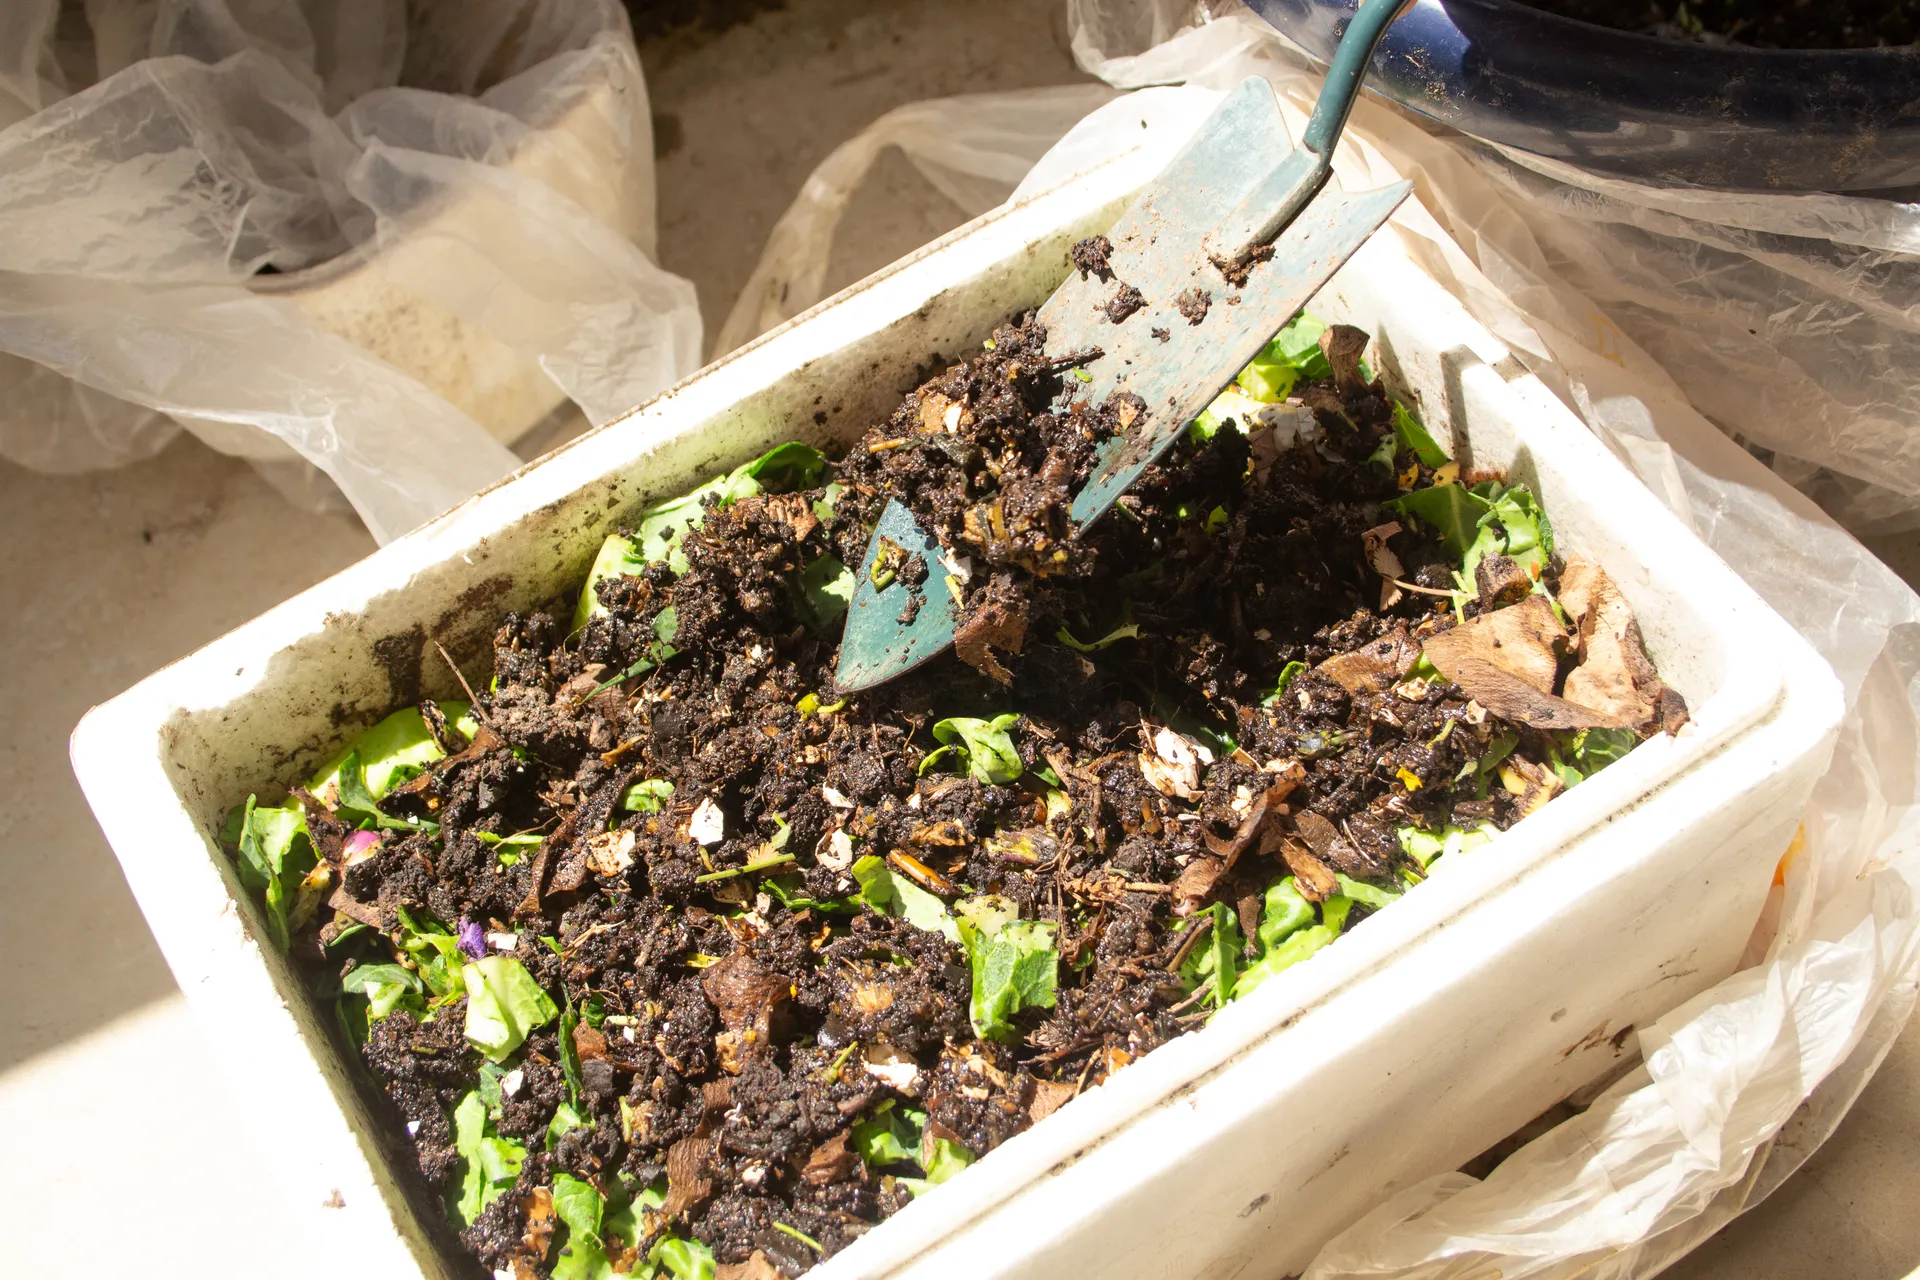
Step 1: Prepare the container
Choose a container around 30cm deep. Make several drainage holes in the base and place a tray underneath to catch excess liquid.
Step 2: Create the bedding
Mix compost, shredded paper, cardboard and leaves. Soak the mixture with water and squeeze out any excess moisture.
Fill the container with 10–15cm of bedding material. It should feel like a wrung-out sponge.
Step 3: Add your worms
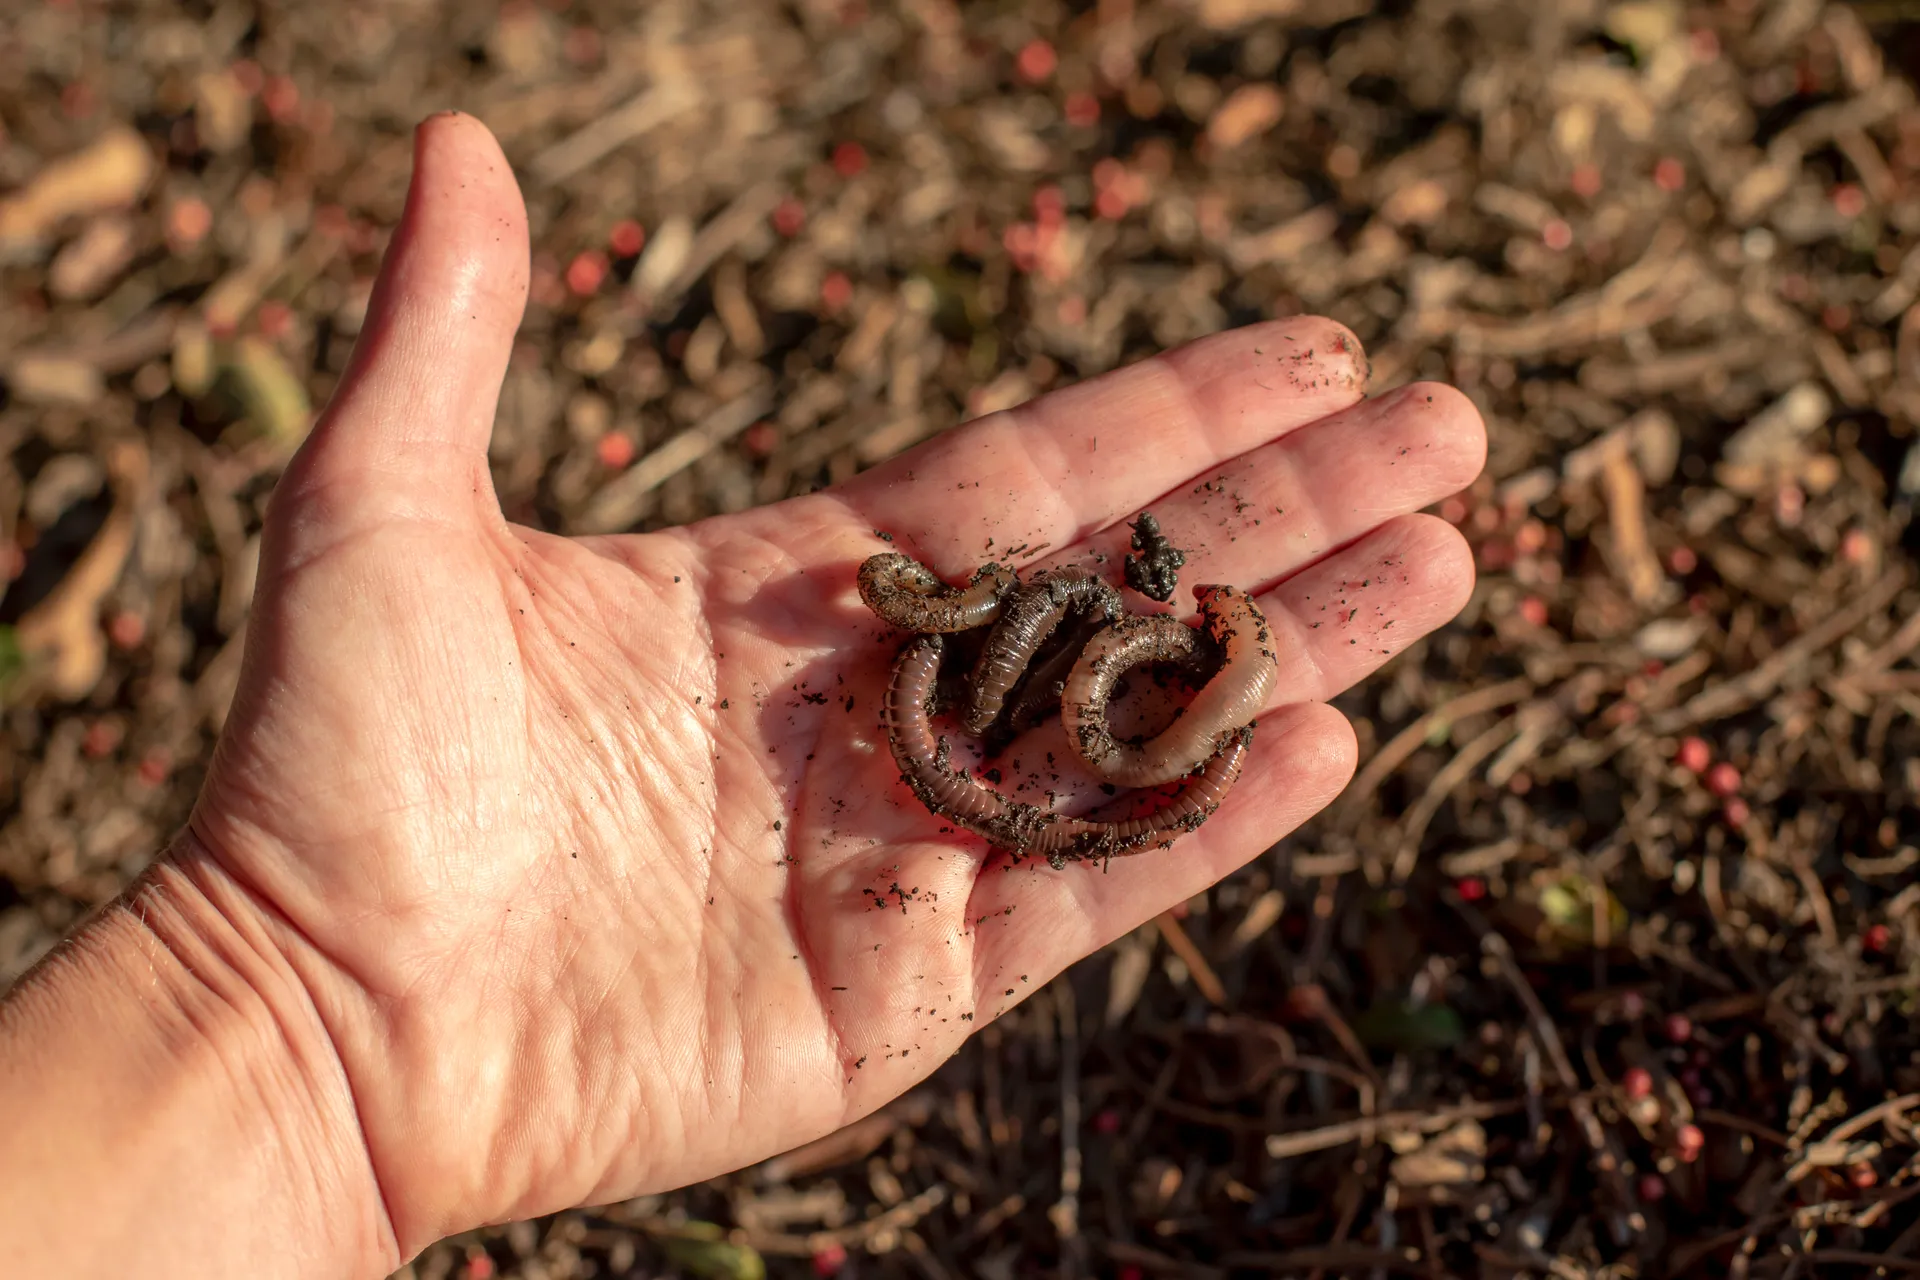
Composting worms, such as tiger worms, are best suited to worm farms. A starter colony of around 1,000 worms is usually enough for most households.
Spread them gently over the bedding and allow them to burrow down naturally.
Step 4: Start feeding
Add small amounts of food scraps and cover them with bedding, compost or a handful of soil.
Only add more food once the previous scraps have mostly disappeared.
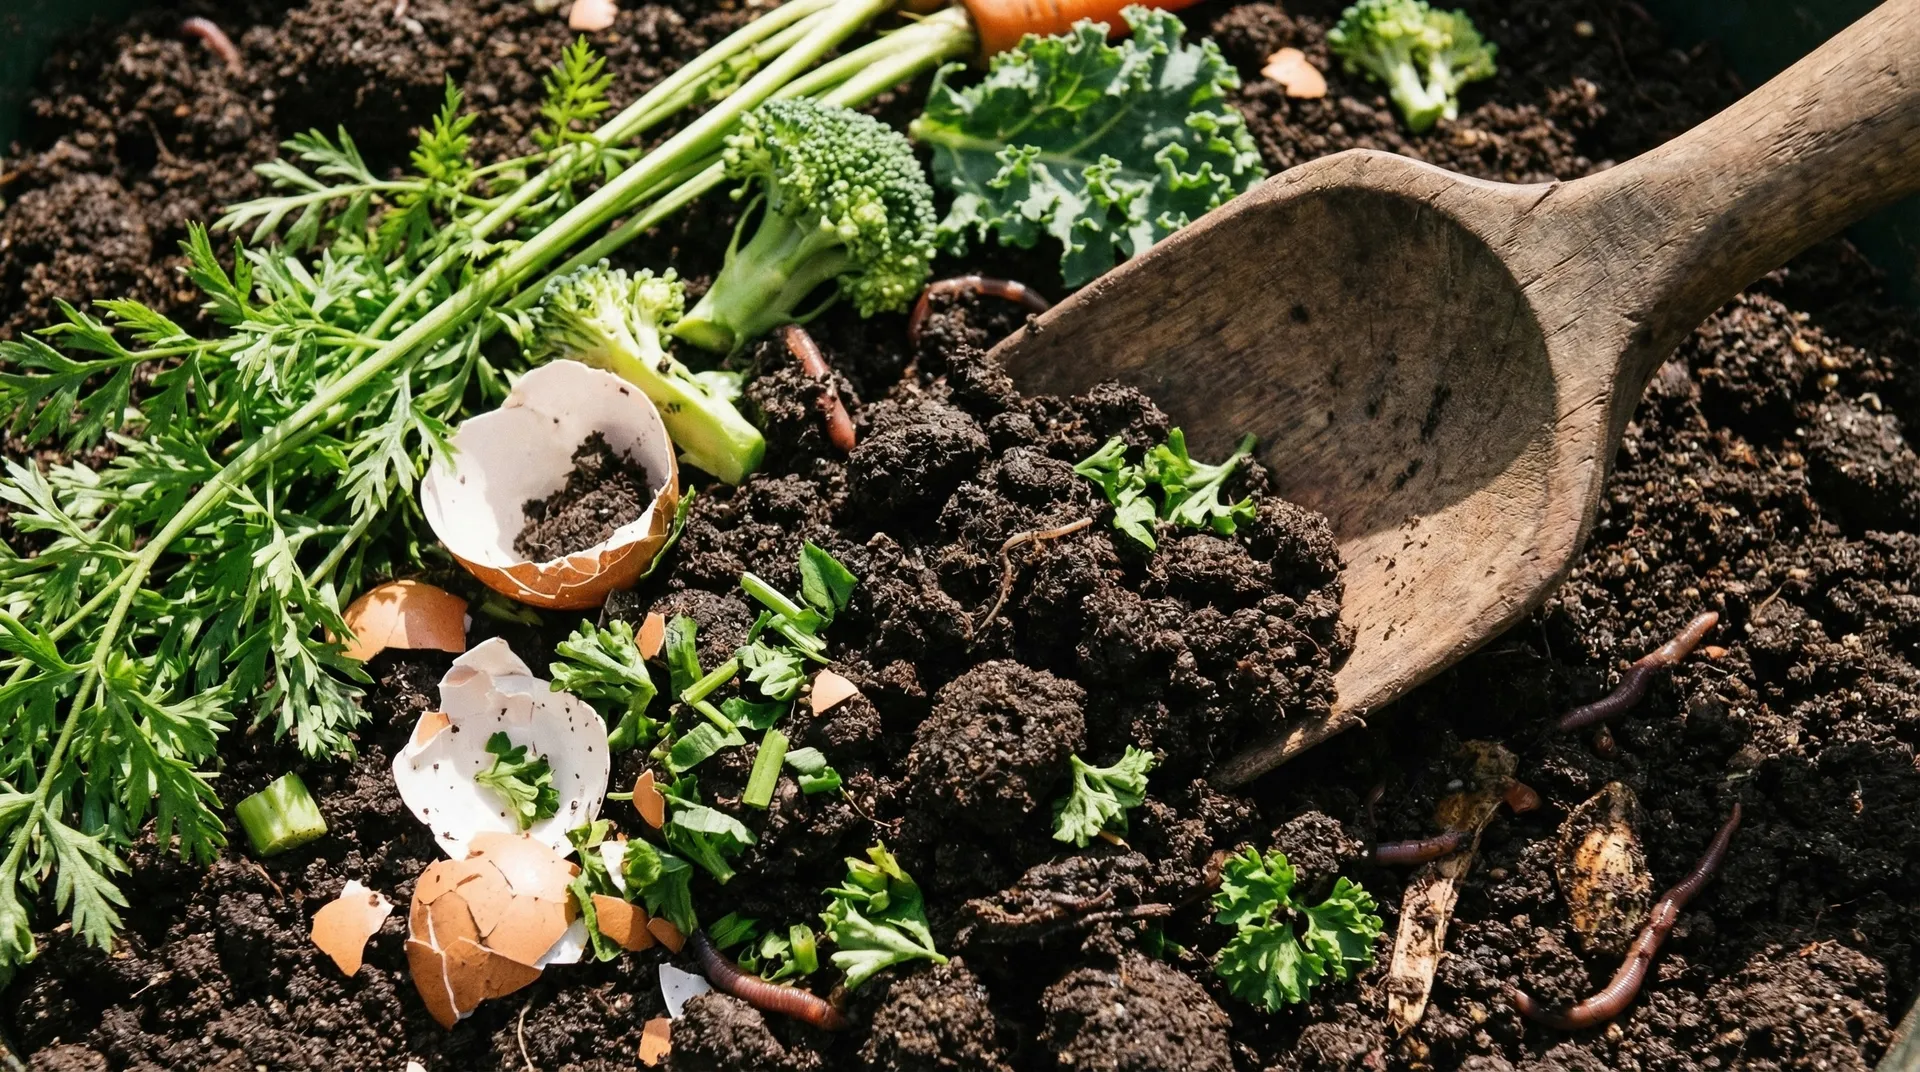
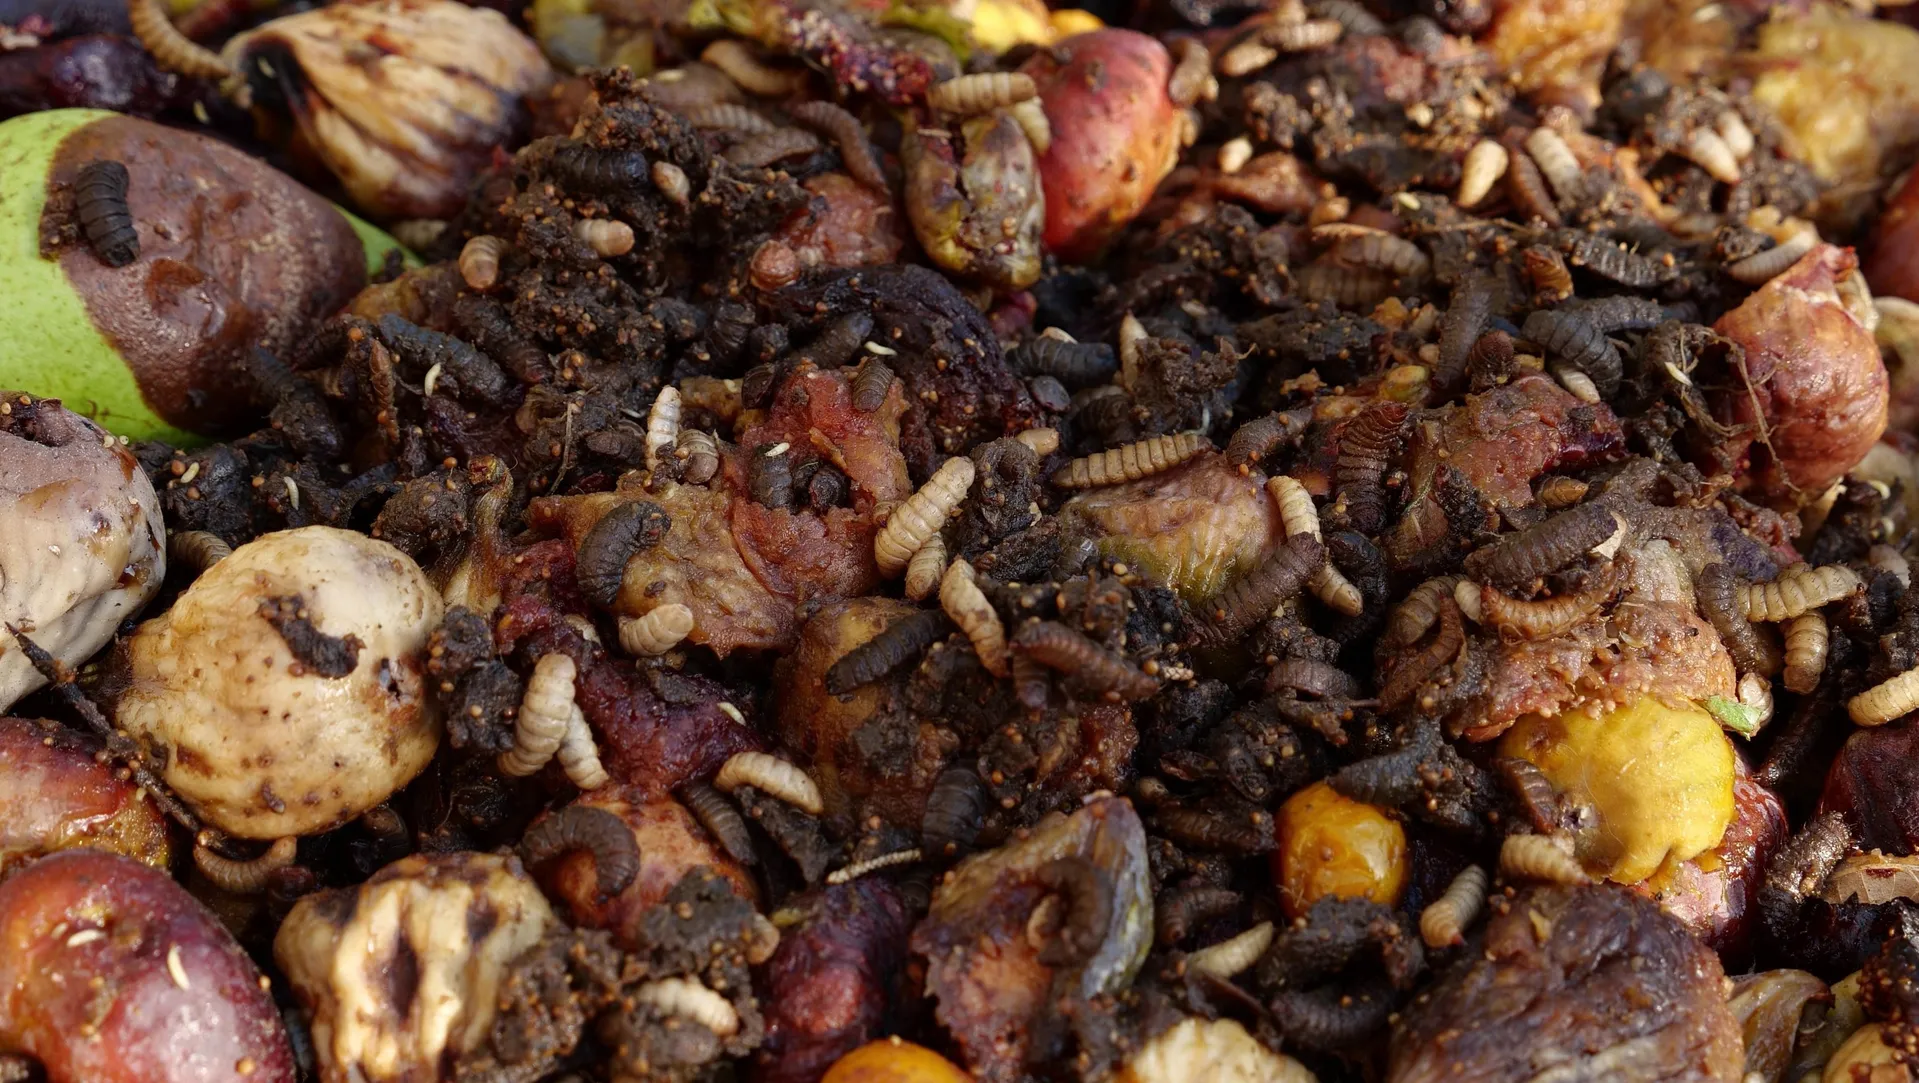
What can worms eat?
Your worms will happily munch through many common kitchen scraps.
Feed them:
- fruit and vegetable scraps.
- crushed eggshells.
- tea leaves and tea bags (remove any strings or staples).
- coffee grounds in moderation.
- bread crusts and cereal leftovers.
- damp shredded cardboard and paper.
- egg cartons torn into small pieces.
Avoid feeding:
- citrus fruit.
- onion and garlic.
- chilli.
- dairy products.
- meat and fish.
- pet waste.
- oily or heavily processed foods.
Smaller scraps break down faster and are easier for worms to process.
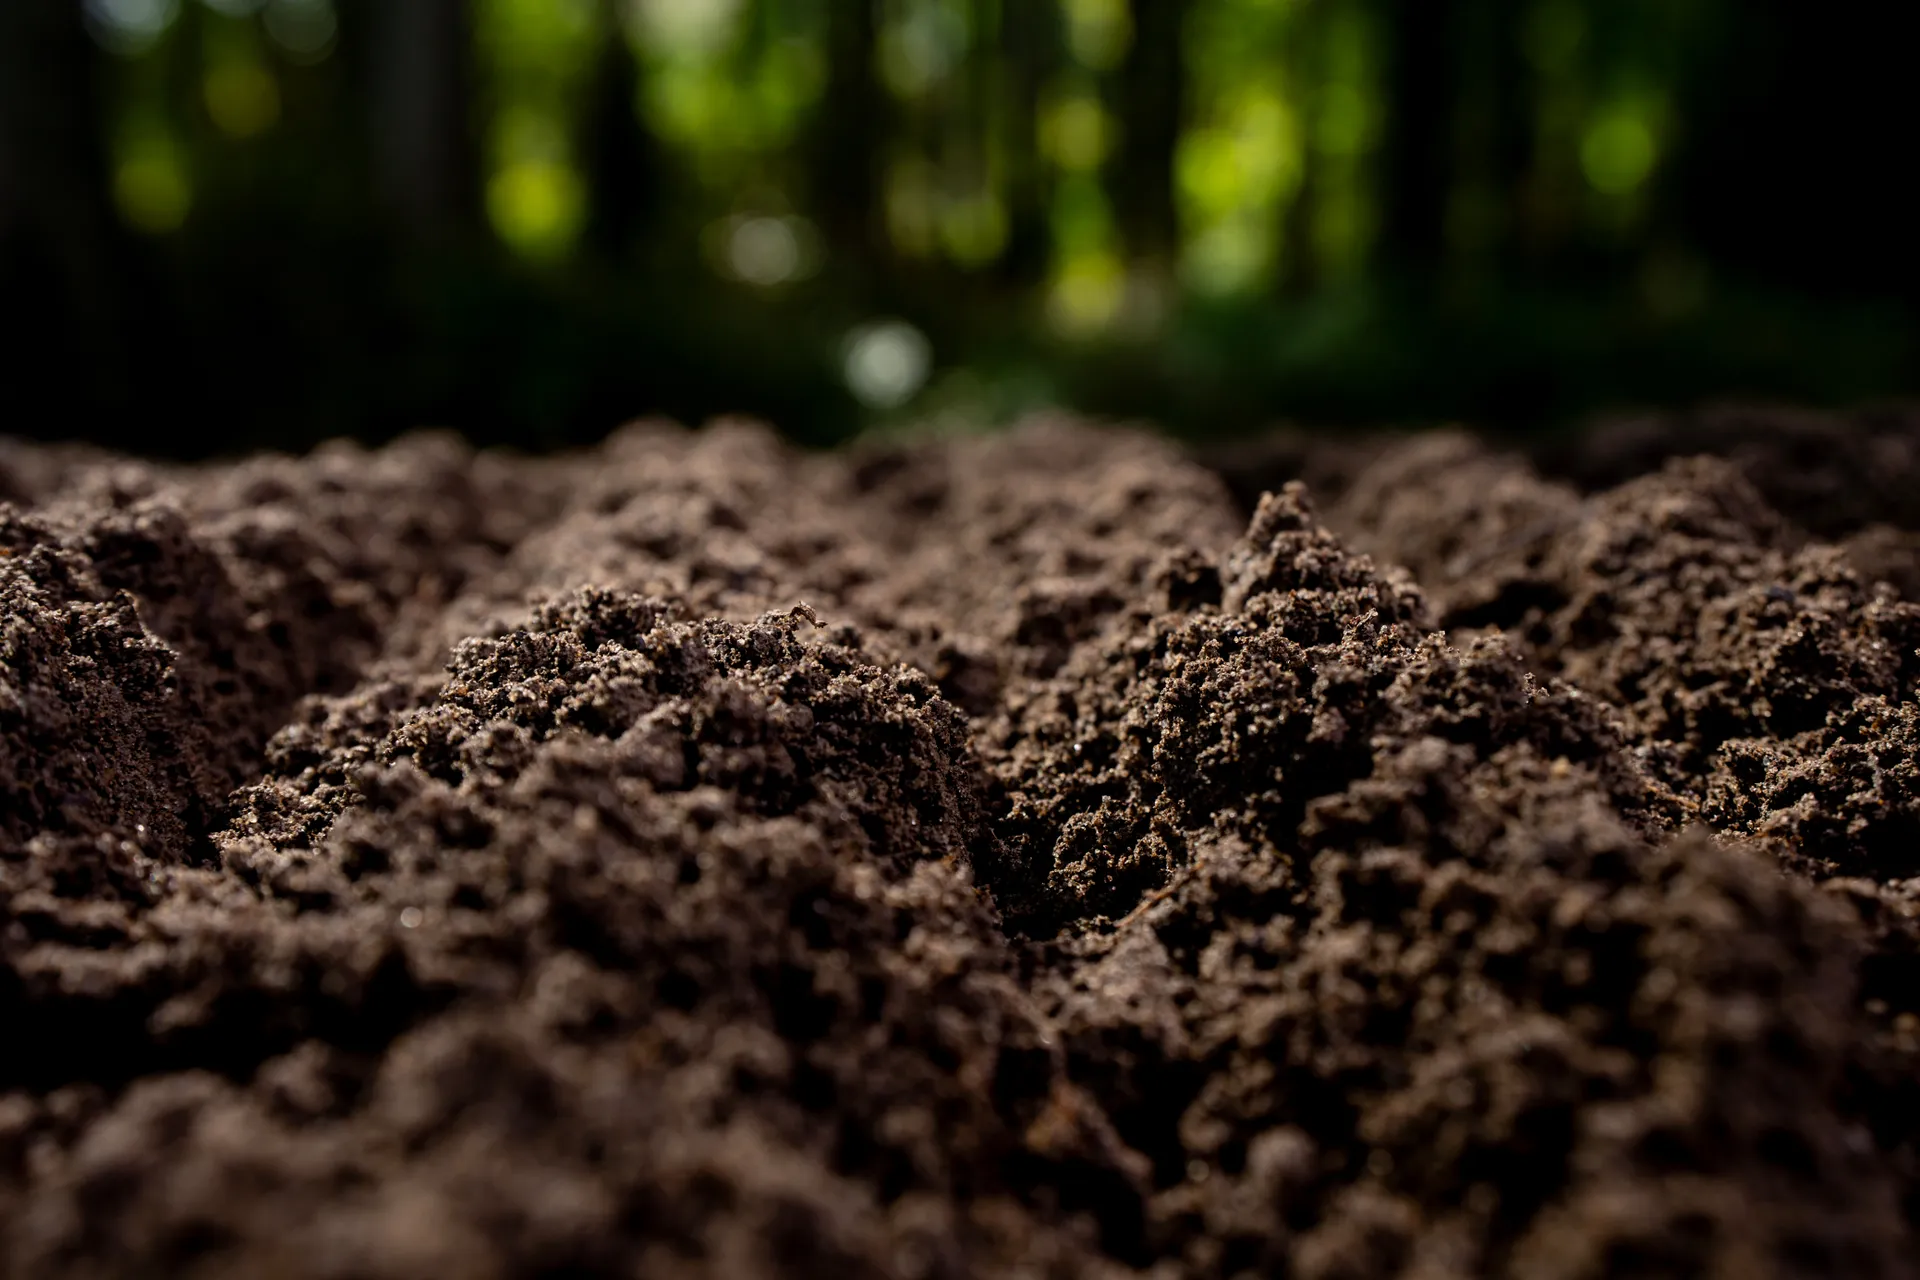
Harvest your worm castings

After a few months, the contents of your worm farm will begin to look like dark, crumbly soil. These worm castings, also known as vermicompost, are packed with nutrients and beneficial microbes.
To harvest:
- move the finished compost to one side of the container.
- add fresh bedding and food to the empty side.
- wait for the worms to migrate across.
- remove the finished castings and use them in garden beds, pots or around fruit trees.
Don't waste the worm tea
The liquid collected beneath your worm farm contains valuable nutrients.
Dilute it before use and apply it to garden beds, potted plants or lawns.
Tip: use worm tea within a few days of collection for best results.
Need more info?
View Council's Compost, worm farms and everything in between video
Worm farming 'how to'
Common worm farm problems
My worm farm smells
A healthy worm farm should smell earthy.
Usually, bad smells mean:
- too much food has been added.
- the farm is too wet.
- there isn't enough airflow.
Fix it by reducing feeding and adding dry shredded paper or cardboard.
Ants or flies have moved in
Cover food scraps with bedding and keep the farm covered with hessian or cloth.
If vinegar flies appear, the worm farm may be becoming too acidic. A small sprinkle of garden lime or dolomite can help restore balance.
The worms are trying to escape
Worms may leave if conditions become too hot, too wet, too dry or too acidic.
Check moisture levels, move the farm into deeper shade and ensure there is enough food available.
Going on holidays?
Good news – worms are low-maintenance pets.
Before you leave:
- add damp shredded cardboard or paper.
- give the bedding a light watering.
- make sure the farm is shaded.
Most worm farms can be left unattended for several weeks.
A small change with a big impact
Starting a worm farm is one of the simplest ways to reduce waste at home. With a few worms and some kitchen scraps, you can turn everyday leftovers into a valuable resource for your garden.
Further reading
To find out more about composting and worm farms:
- read council’s organic waste fact sheet (PDF, 241KB)
- visit the International Compost Awareness Week website
- use Peels to connect with someone who wants your food scraps.