Five things you can repair at home
Check out these five beginner-friendly repairs that can give everyday items a second life.
Many common household repairs only need basic tools, a little patience and a free online tutorial. No skills - it doesn't matter. If you're keen to fix rather than fling, grab your tools and get cracking.
Here are five beginner-friendly repairs that can give everyday items a second life.
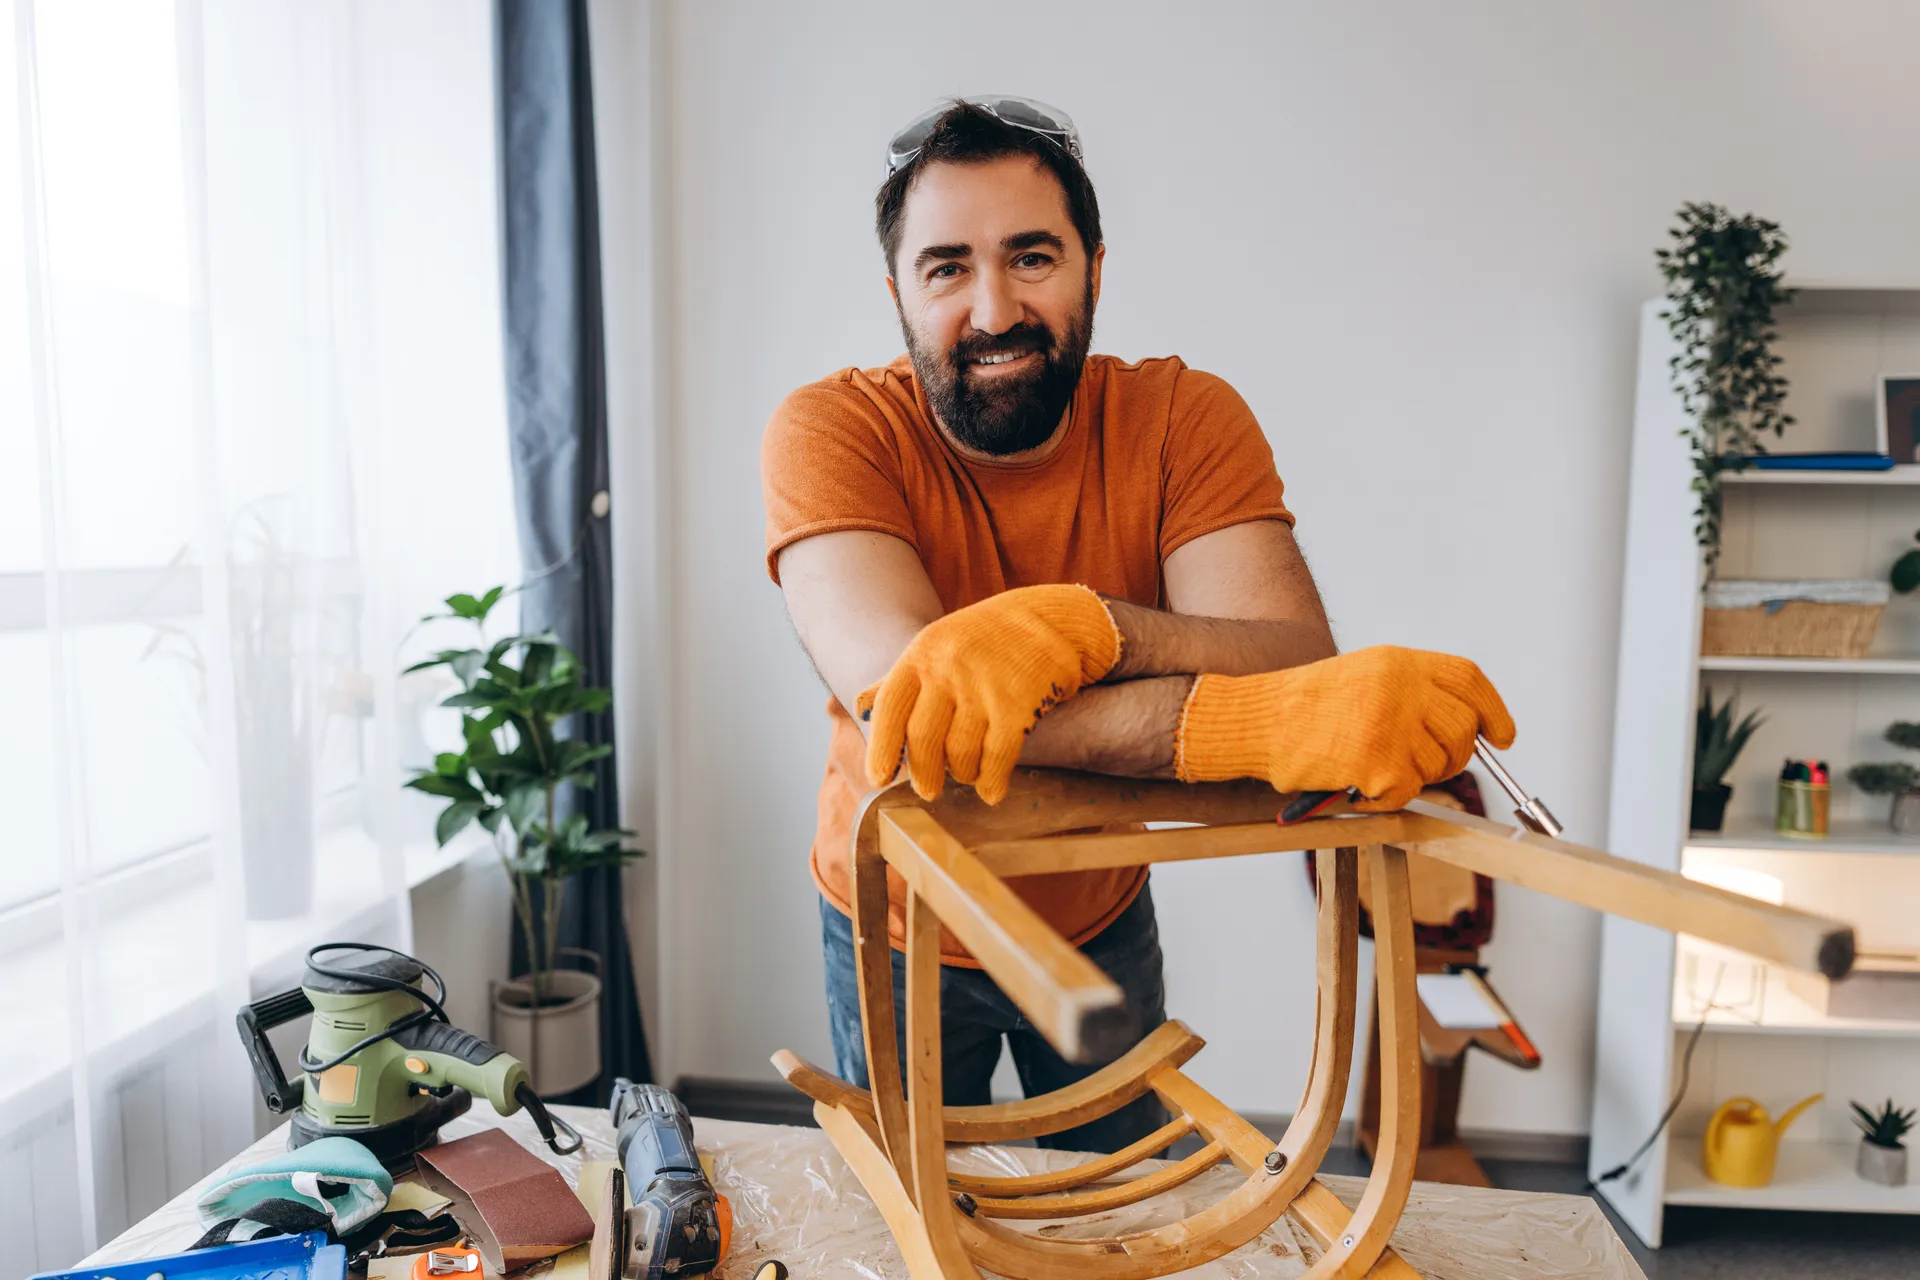
1. The wobbly chair
A wobbly chair is usually caused by loose screws or joints that have shifted over time.
What you’ll need
- screwdriver
- wood glue
- clamps or heavy books
- cloth
5-step repair
- Turn the chair upside down and check where the movement is coming from.
- Tighten any visible screws or bolts.
- If the joints are loose, carefully pull them apart slightly and add wood glue.
- Push the joint back together and clamp firmly.
- Leave overnight before using again.
Living Smart tip
Loose joints and fasteners are one of the most common causes of chair wobble.
Helpful tutorial
- Bunnings Workshop – repairing loose chair joints
- Bunnings – chair repair inspiration
2. Sharpen a blunt lawnmower blade
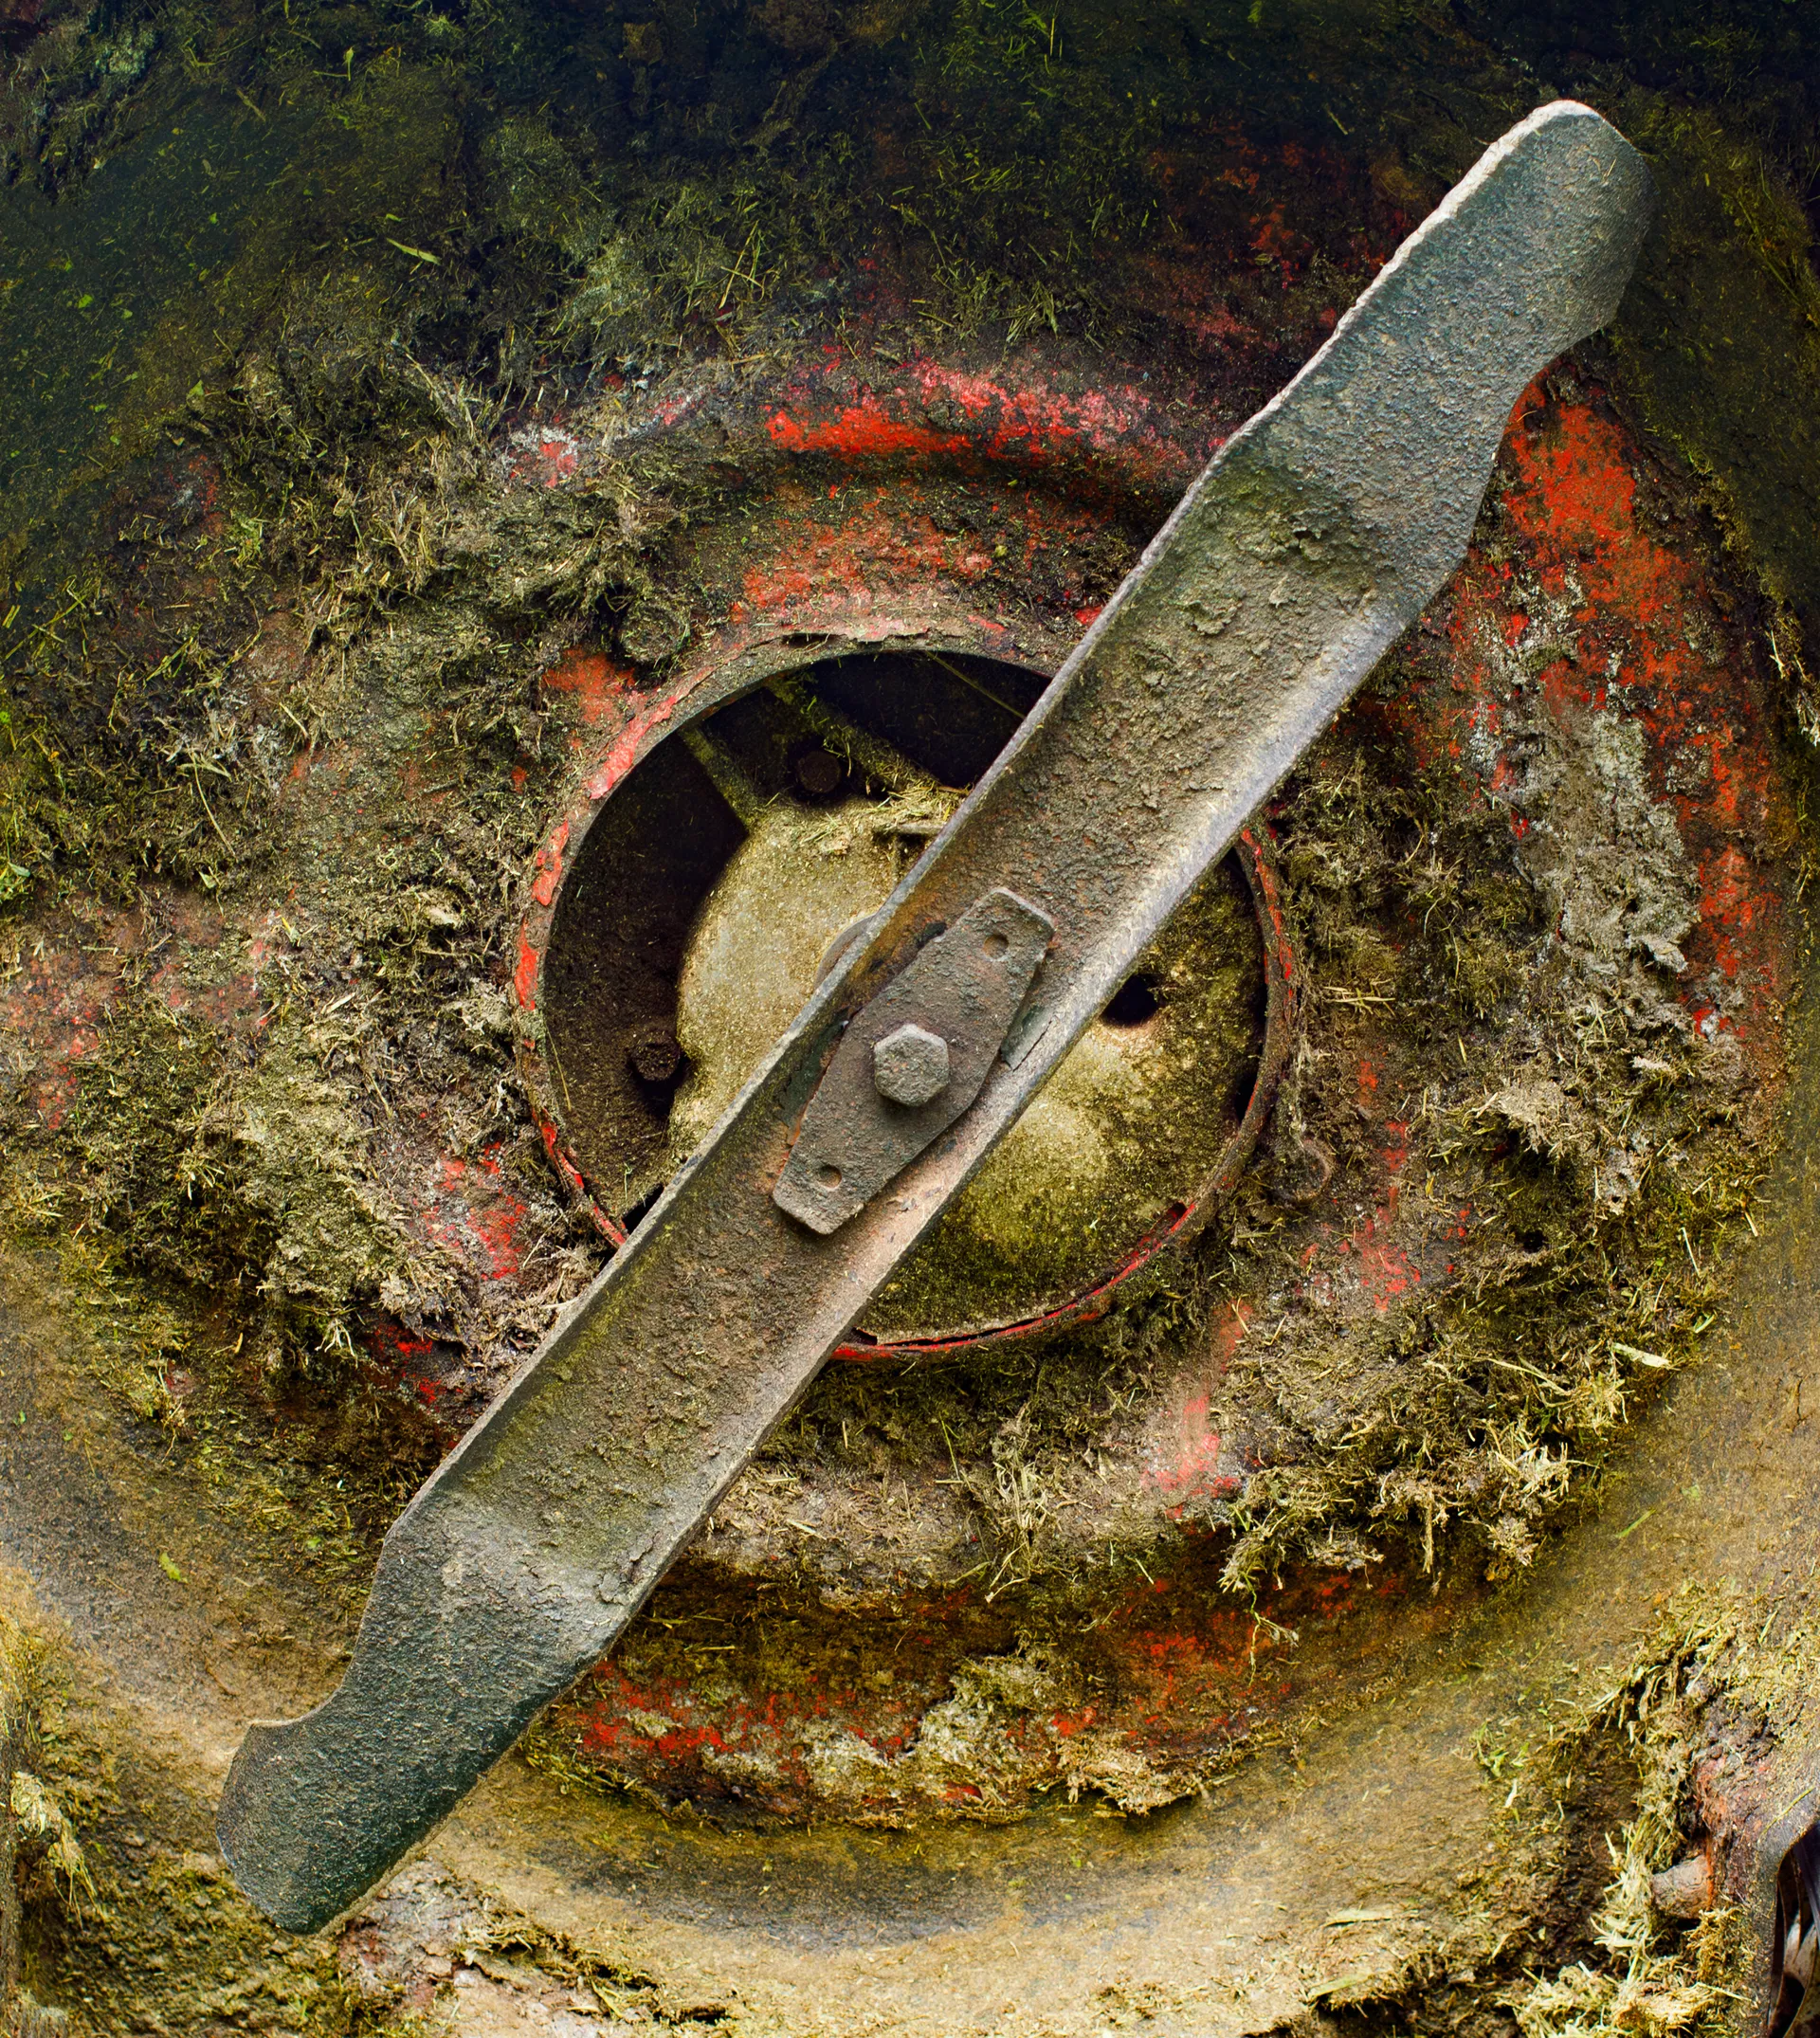
If your lawn looks torn or brown after mowing, the blade may be blunt.
What you’ll need
- safety gloves
- socket wrench
- metal file or blade sharpener
- cleaning brush
5-step repair
- Disconnect the spark plug or battery before starting.
- Tip the mower safely and remove the blade.
- Clean dirt and grass from the blade.
- File along the cutting edge evenly until sharp.
- Reattach the blade securely and test mow.
Living Smart tip
Sharp mower blades cut grass cleanly, helping lawns stay healthier and use less water.
Helpful tutorial
- Bunnings YouTube – lawn mower maintenance video
Regular blade sharpening helps reduce strain on the mower and improves lawn health.
3. Repair a ripped couch cushion
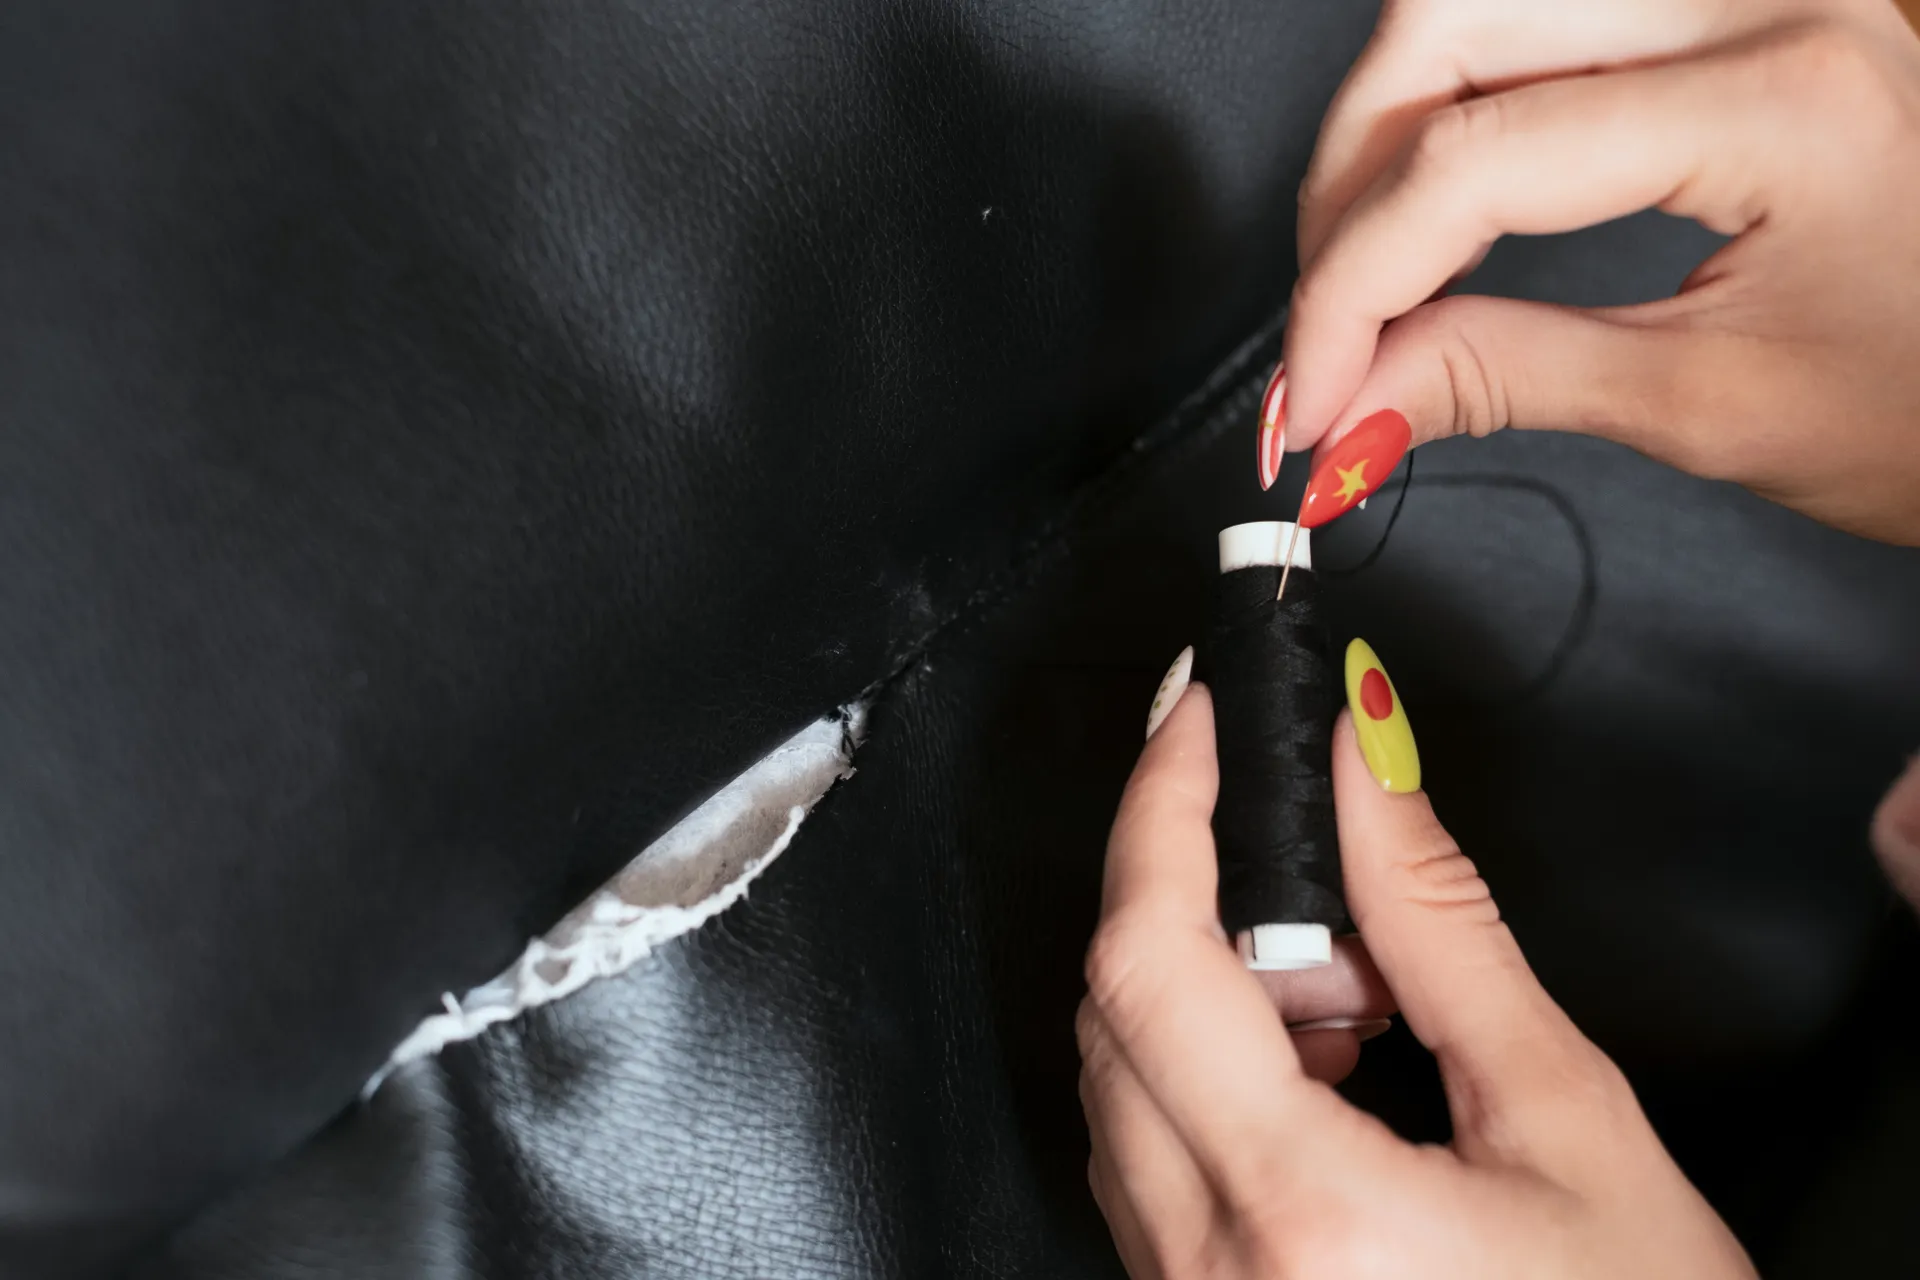
Small tears can quickly become large holes if left untreated.
What you’ll need
- needle and thread
- iron-on patch or fabric adhesive
- scissors
- matching fabric if needed
5-step repair
- Trim any loose threads around the tear.
- Turn the cushion cover inside out if possible.
- Stitch the tear closed using small tight stitches.
- Reinforce the back with an iron-on patch or fabric adhesive.
- Smooth the fabric and allow adhesive to cure before use.
Living Smart tip
Soft furnishings are bulky landfill items. Small repairs can extend their life by years.
Helpful tutorial
Create with craftsman Use a ladder stitch to fix rips in anything
4. replacing a broken zipper
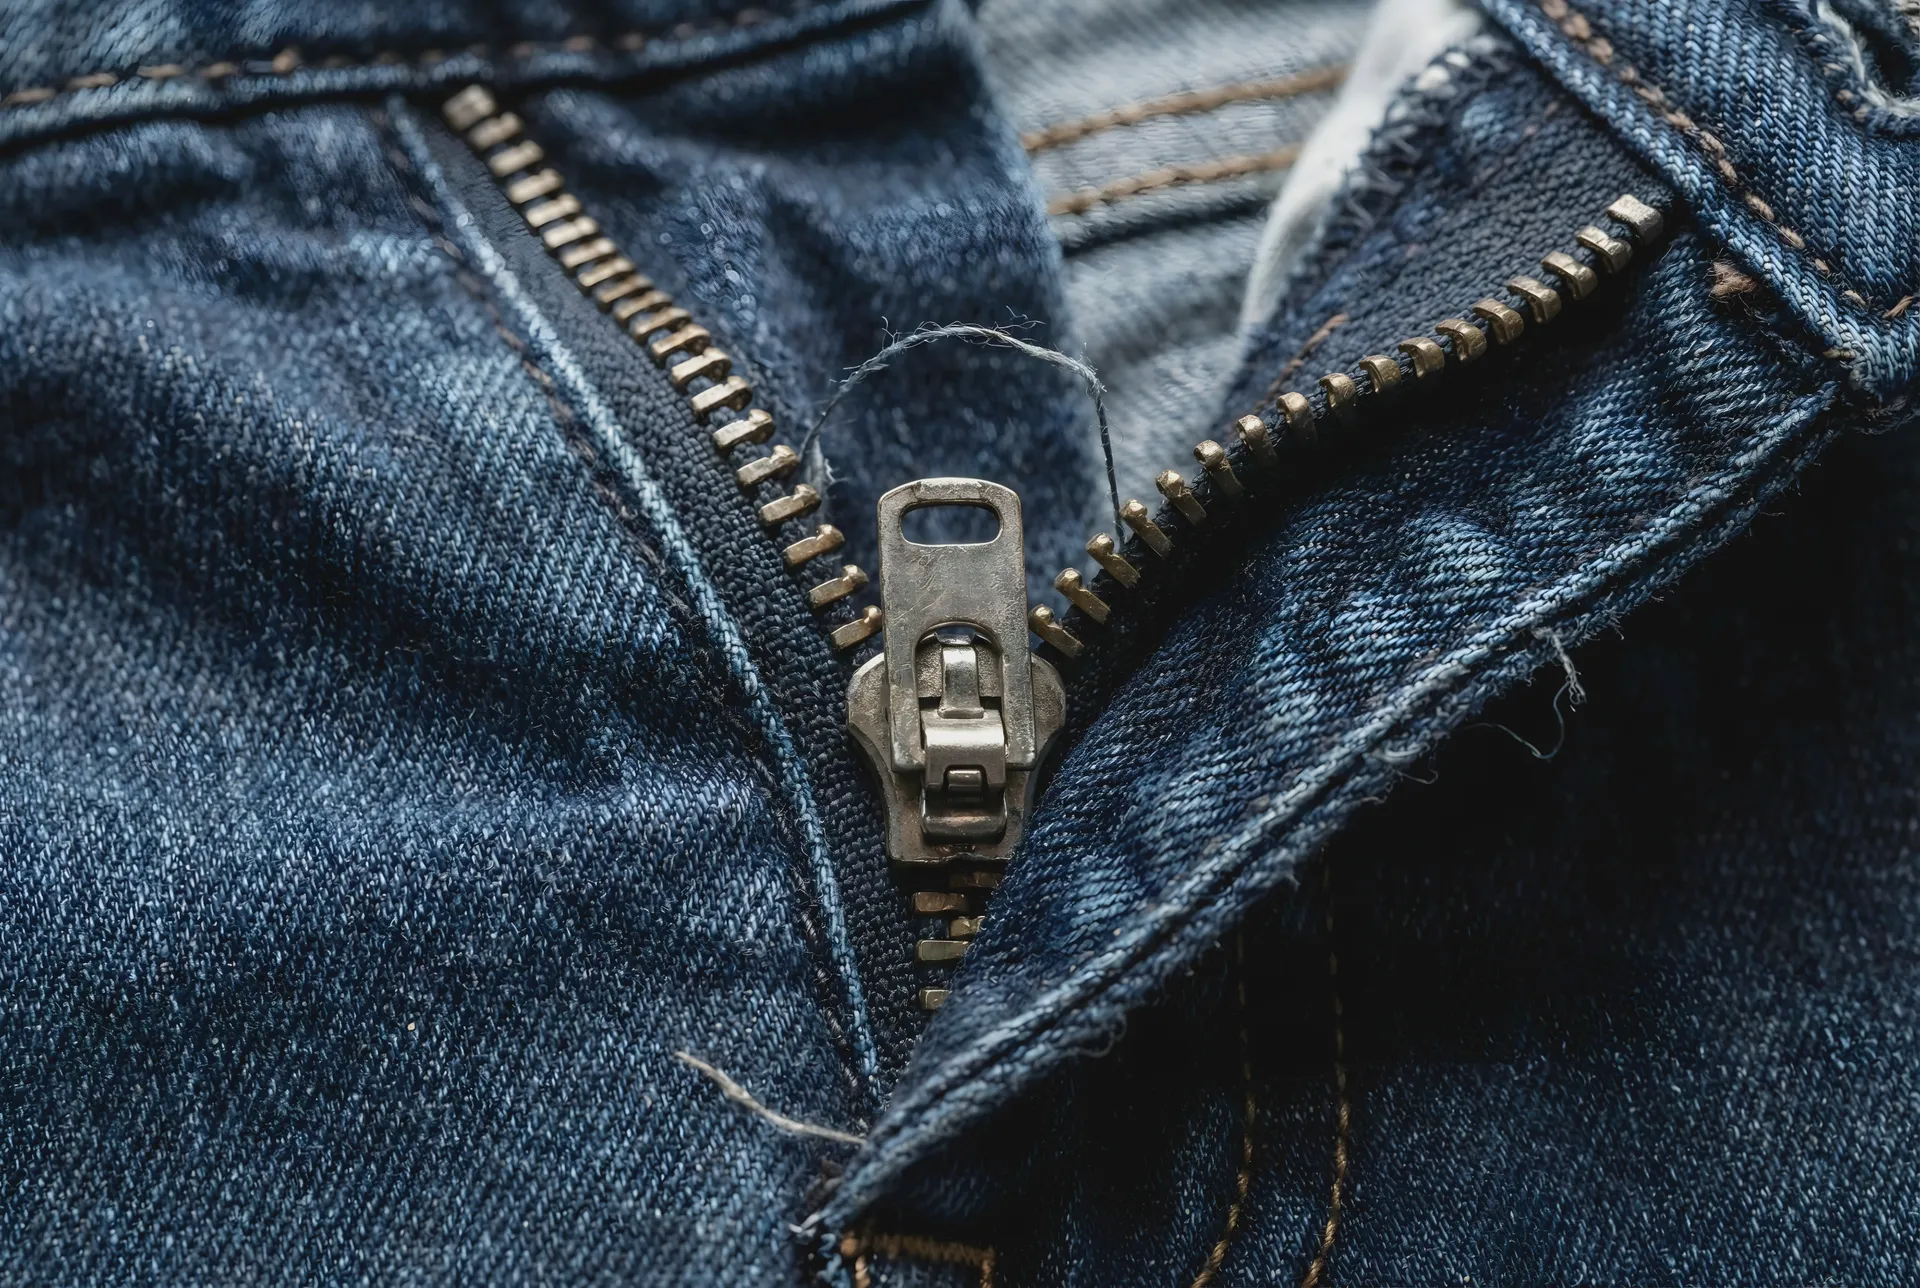
A faulty zipper doesn’t always mean the item is ruined. Many issues, like a missing pull tab or stuck teeth, are quick to fix.
What you’ll need
- paperclip or replacement zipper pull
- pliers
- candle wax or soap
- needle and thread (optional)
5-step repair
- Check the problem – missing pull, stuck zipper or separating teeth.
- If the pull tab is missing, attach a paperclip or new zipper pull using pliers.
- Rub candle wax or soap along the teeth to help it glide smoothly.
- Gently work the zipper up and down to realign the teeth.
- If the zipper separates, stitch a few threads across the base to stop it sliding off.
Living Smart tip
Most zipper issues are caused by wear, not damage, and can be resolved with simple tools.
Helpful tutorial
- Lifehacker - How to fix every zipper issue
5. Restore a stained wooden chopping board
Wooden chopping boards can often be restored rather than replaced. Got half a lemon left over - you're halfway there.
What you’ll need
- coarse salt or bicarbonate soda
- lemon
- sandpaper
- food-safe mineral oil
5-step repair
- Sprinkle salt or bicarbonate soda over the board.
- Scrub with half a lemon to lift stains and smells.
- Rinse and dry thoroughly.
- Lightly sand rough or stained areas.
- Apply food-safe oil and allow to soak in overnight.
Living Smart tip
Natural timber products can often be refreshed multiple times before replacement is needed.
Helpful tutorial
Bonus repair: Replace broken picture frame glass
Broken frame glass doesn’t mean the whole frame has to go.
What you’ll need
- gloves
- measuring tape
- replacement glass or acrylic sheet
- craft knife or glazier
5-step repair
- Carefully remove broken glass while wearing gloves.
- Measure the opening accurately.
- Purchase replacement glass or lightweight acrylic.
- Insert the new panel into the frame.
- Secure the backing and rehang.
Living Smart tip
Acrylic inserts are lighter, safer around children and less likely to break again.
Even small repairs can make a big difference over time.