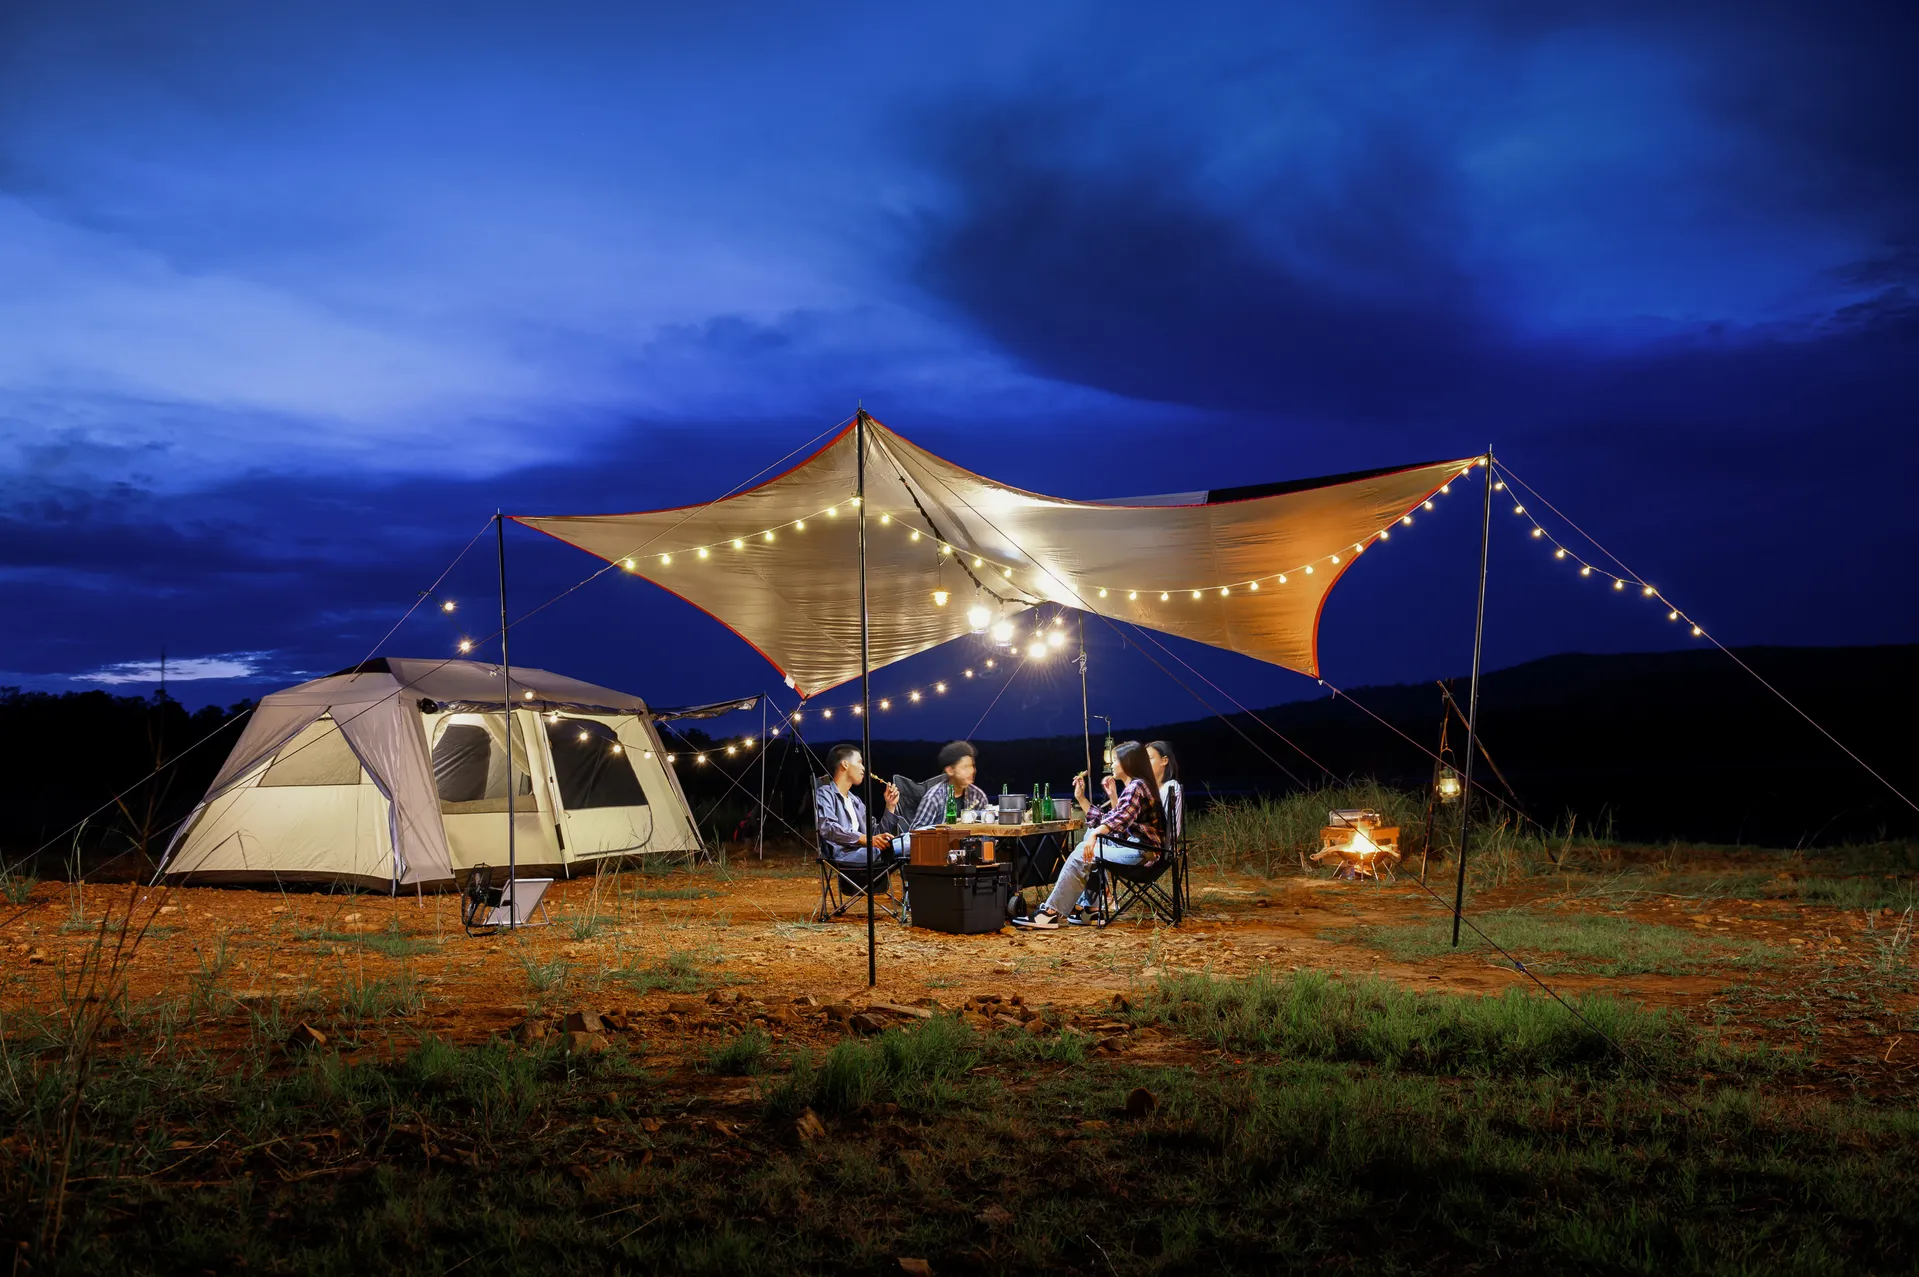
Create a reliable power system for off-grid camping
Bamboozled by off-grid solar set ups? you're not alone. Follow our simple step-by-step guide and you'll be relaxing with a cold one before you know it.
As fuel costs rise, finding a cheaper camping option makes sense, but finding a balance between cost and comfort can make all the difference to your holiday.
If you're looking at unpowered sites, making sure you can keep your food and drinks cold, charge lights and phones and pop some extra oomff if your inflatable bed can elevate your stay from glum to glam.
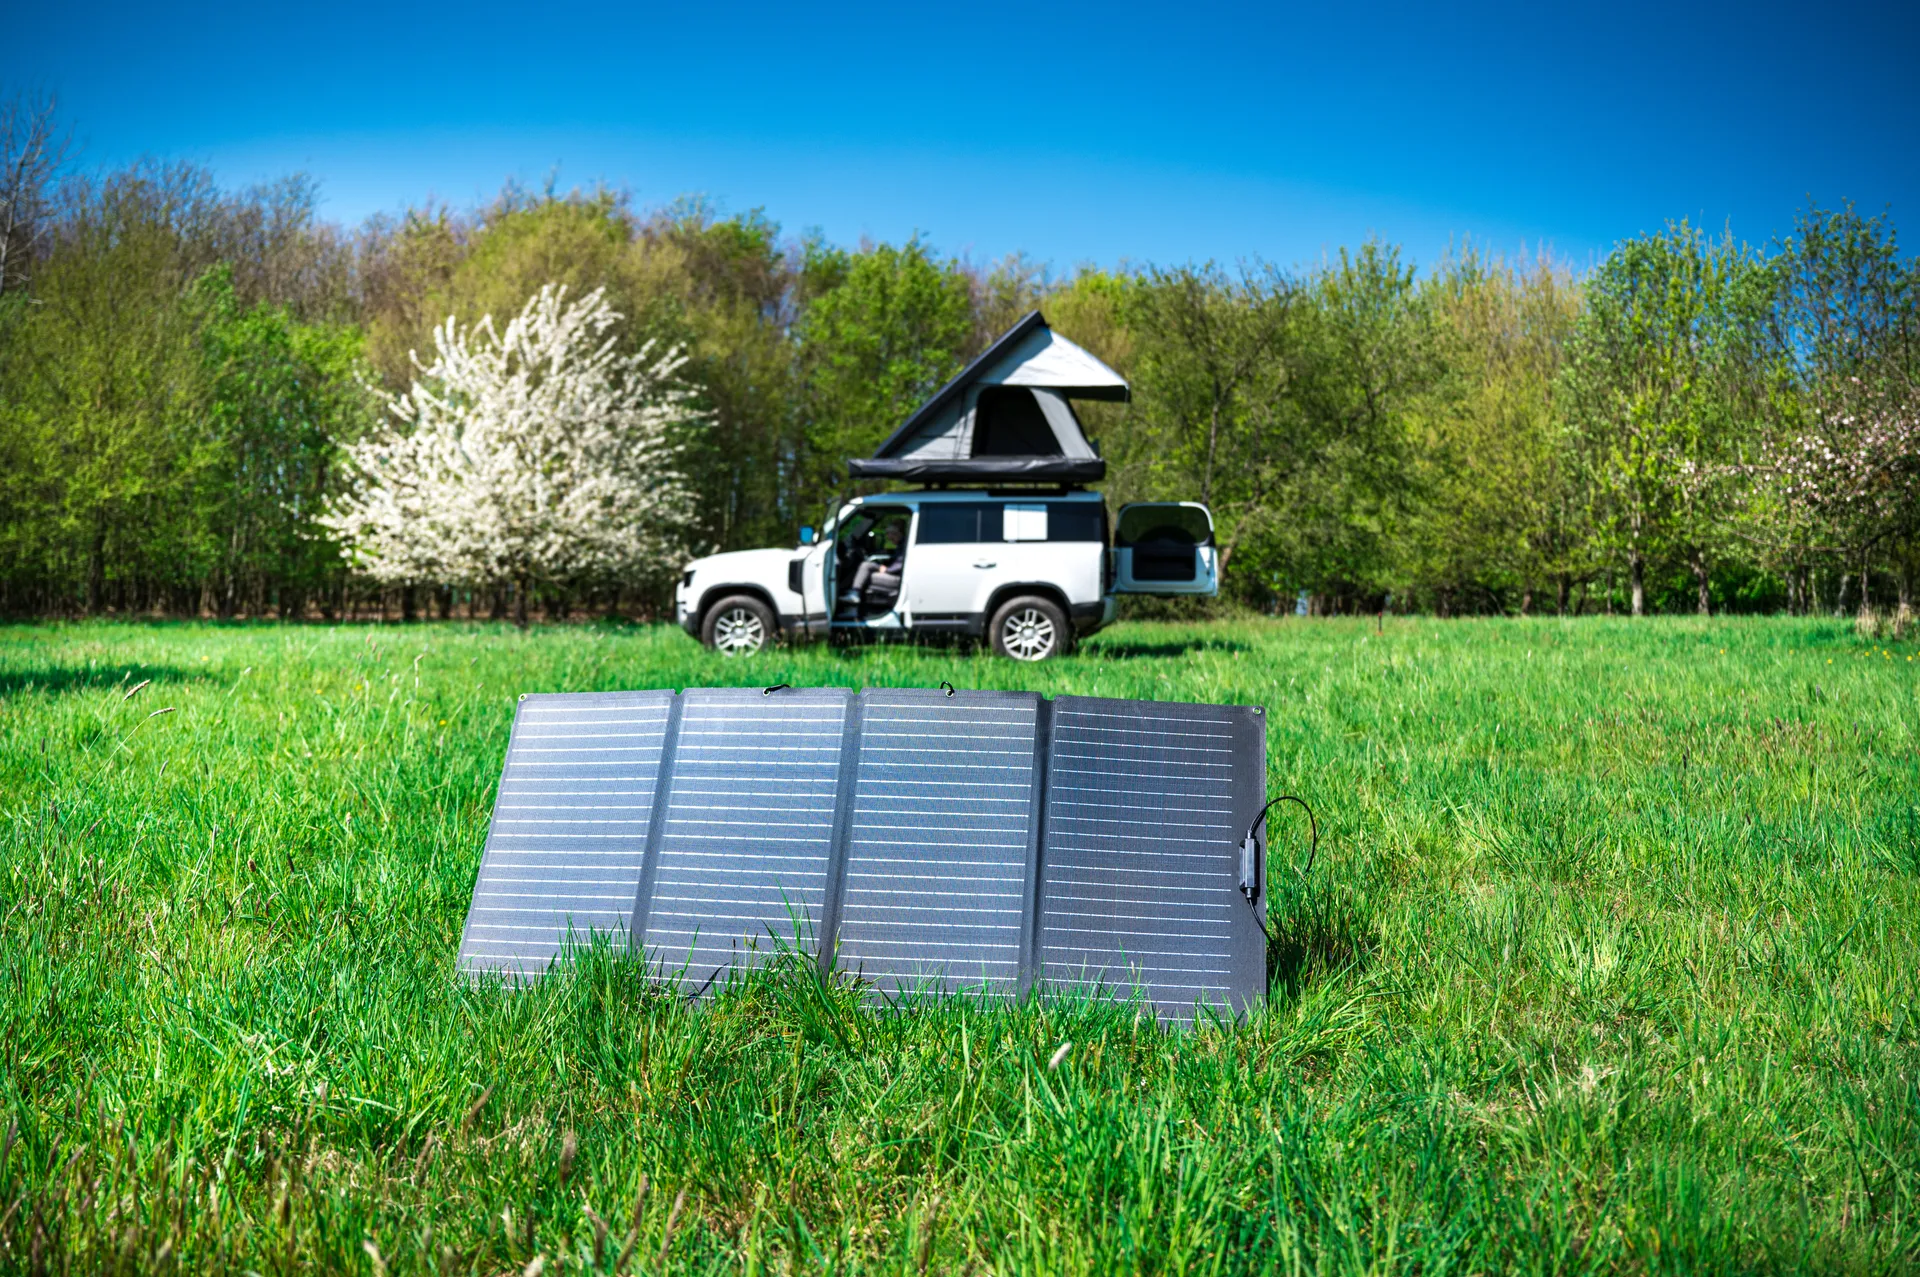
The basic set up
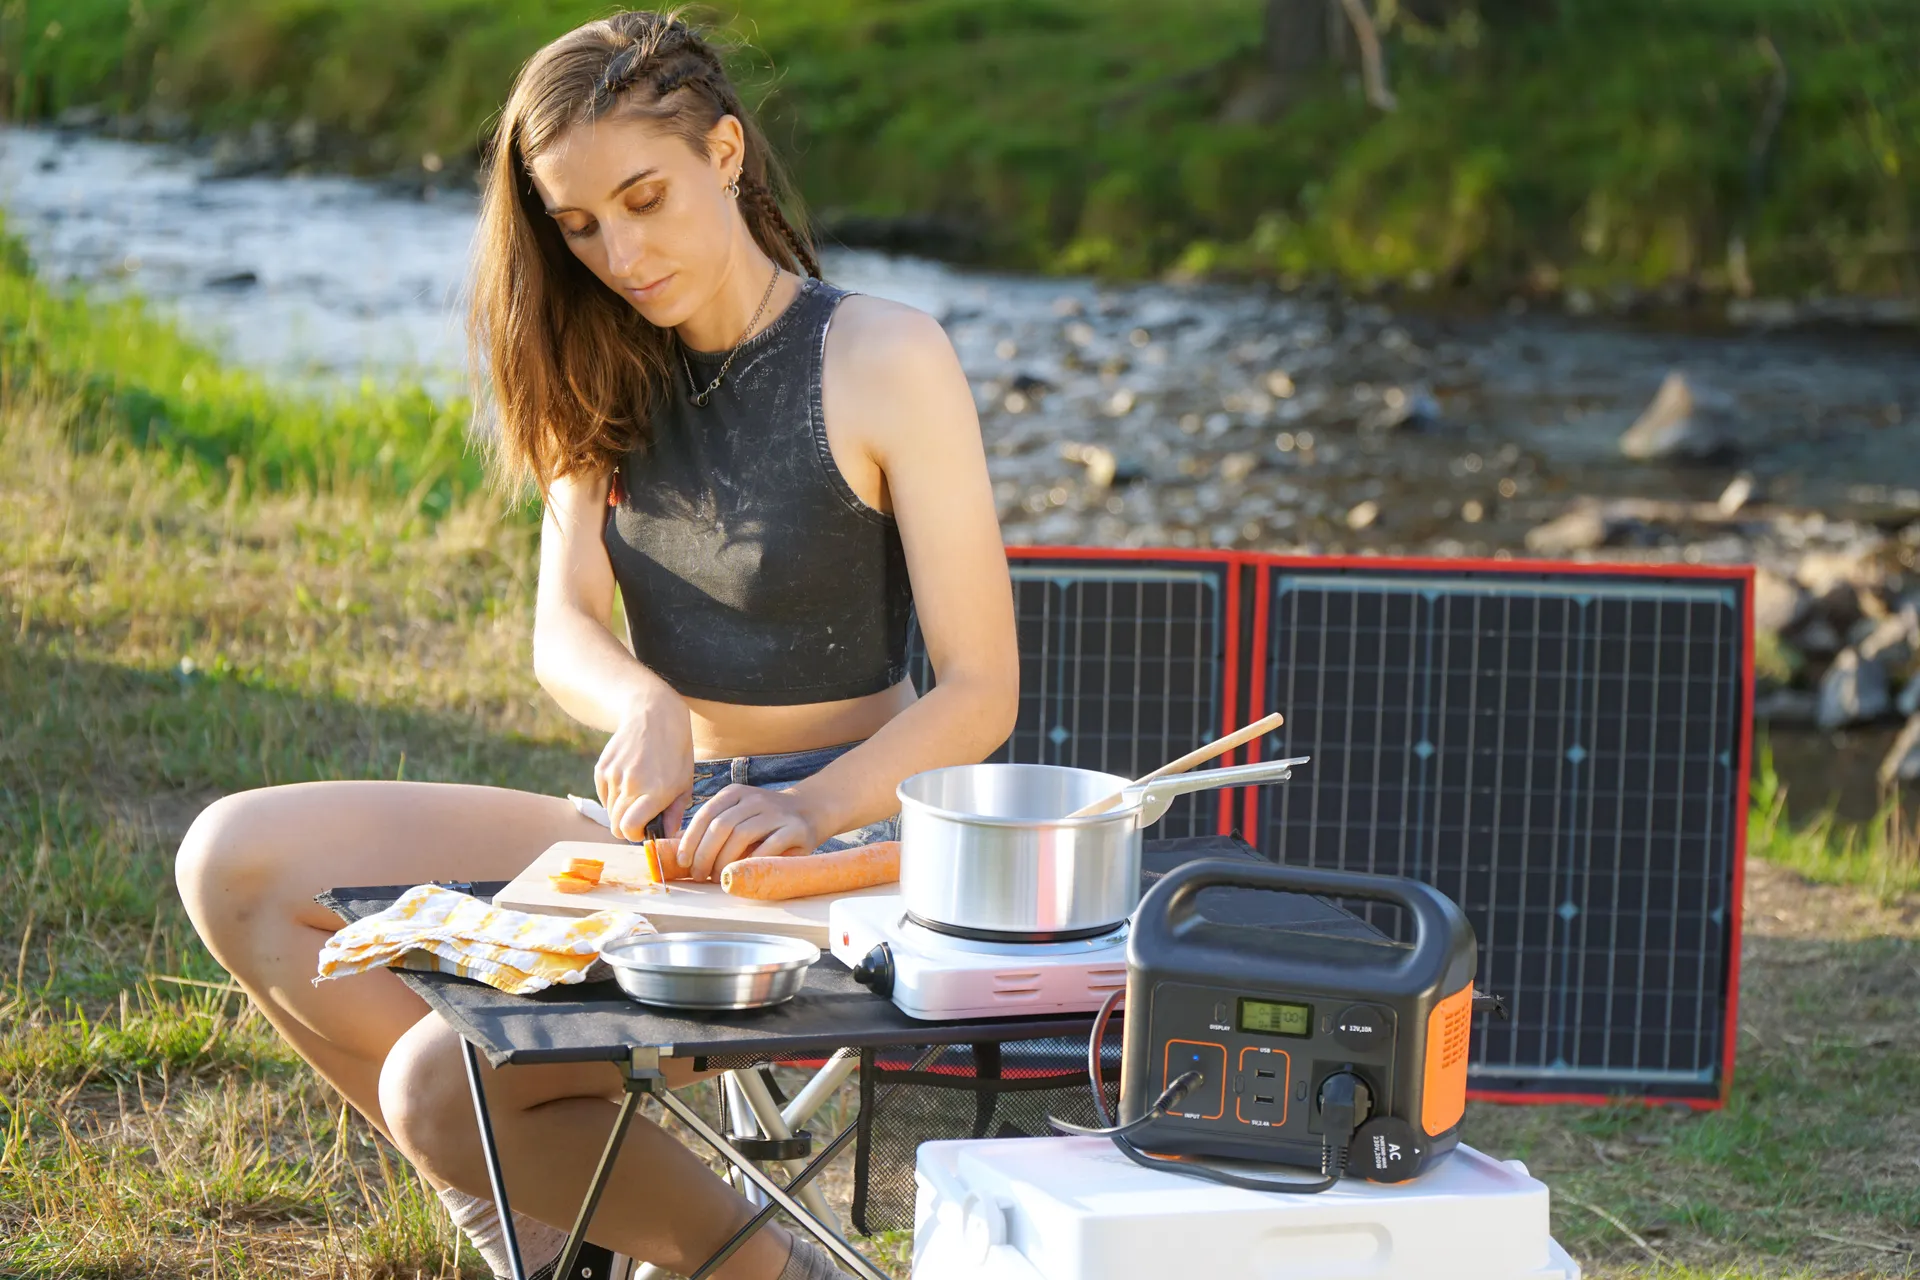
Combining a solar panel with a battery is one of the most flexible and future‑proof ways to achieve reliable power.
While modern fridges often come with a direct solar input, opting for a small, modular system means you won't need to chase the sun, allows you to store power and charge a range of camping accessories at the same time.
The range of cable options is confusing but the good news is once it’s set up correctly, it's easy to use, easy to expand and will make your camping experience a lot more comfortable.
What you need for a basic solar camping system

A simple off‑grid power set‑up includes:
- A solar panel
- A solar regulator or charge controller
- A deep cycle battery
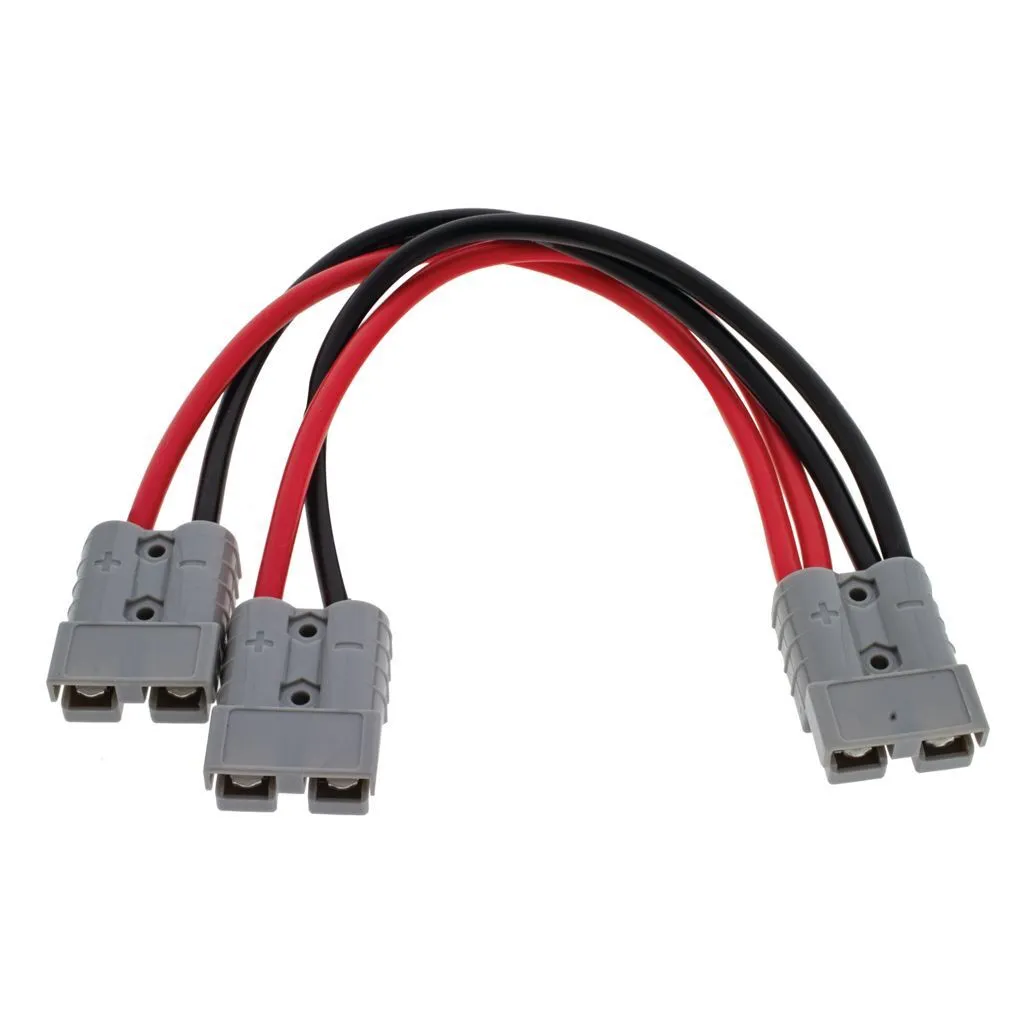
- 12‑volt outputs such as Anderson plugs or sockets
- Fuses and suitable cabling
Using Anderson connectors throughout the system makes it far easier to connect, disconnect and expand your set‑up over time.
Types of solar panels and what they’re best for
Not all solar panels behave the same way when camping.
Monocrystalline panels are the most efficient rigid panels for their size. They’re a good option when space is limited, but they tend to be the most expensive and slightly more fragile. Performance can drop in very high temperatures.
Polycrystalline panels are more cost‑effective but less efficient for the same surface area. Like monocrystalline panels, they’re rigid and can lose efficiency in heat.
Amorphous or flexible panels are the least efficient in terms of output, but they’re lightweight, tough and portable. These panels cope better with heat and are easier to move around camp to chase the sun, which can make up for lower efficiency.
Why use a charge controller and battery?
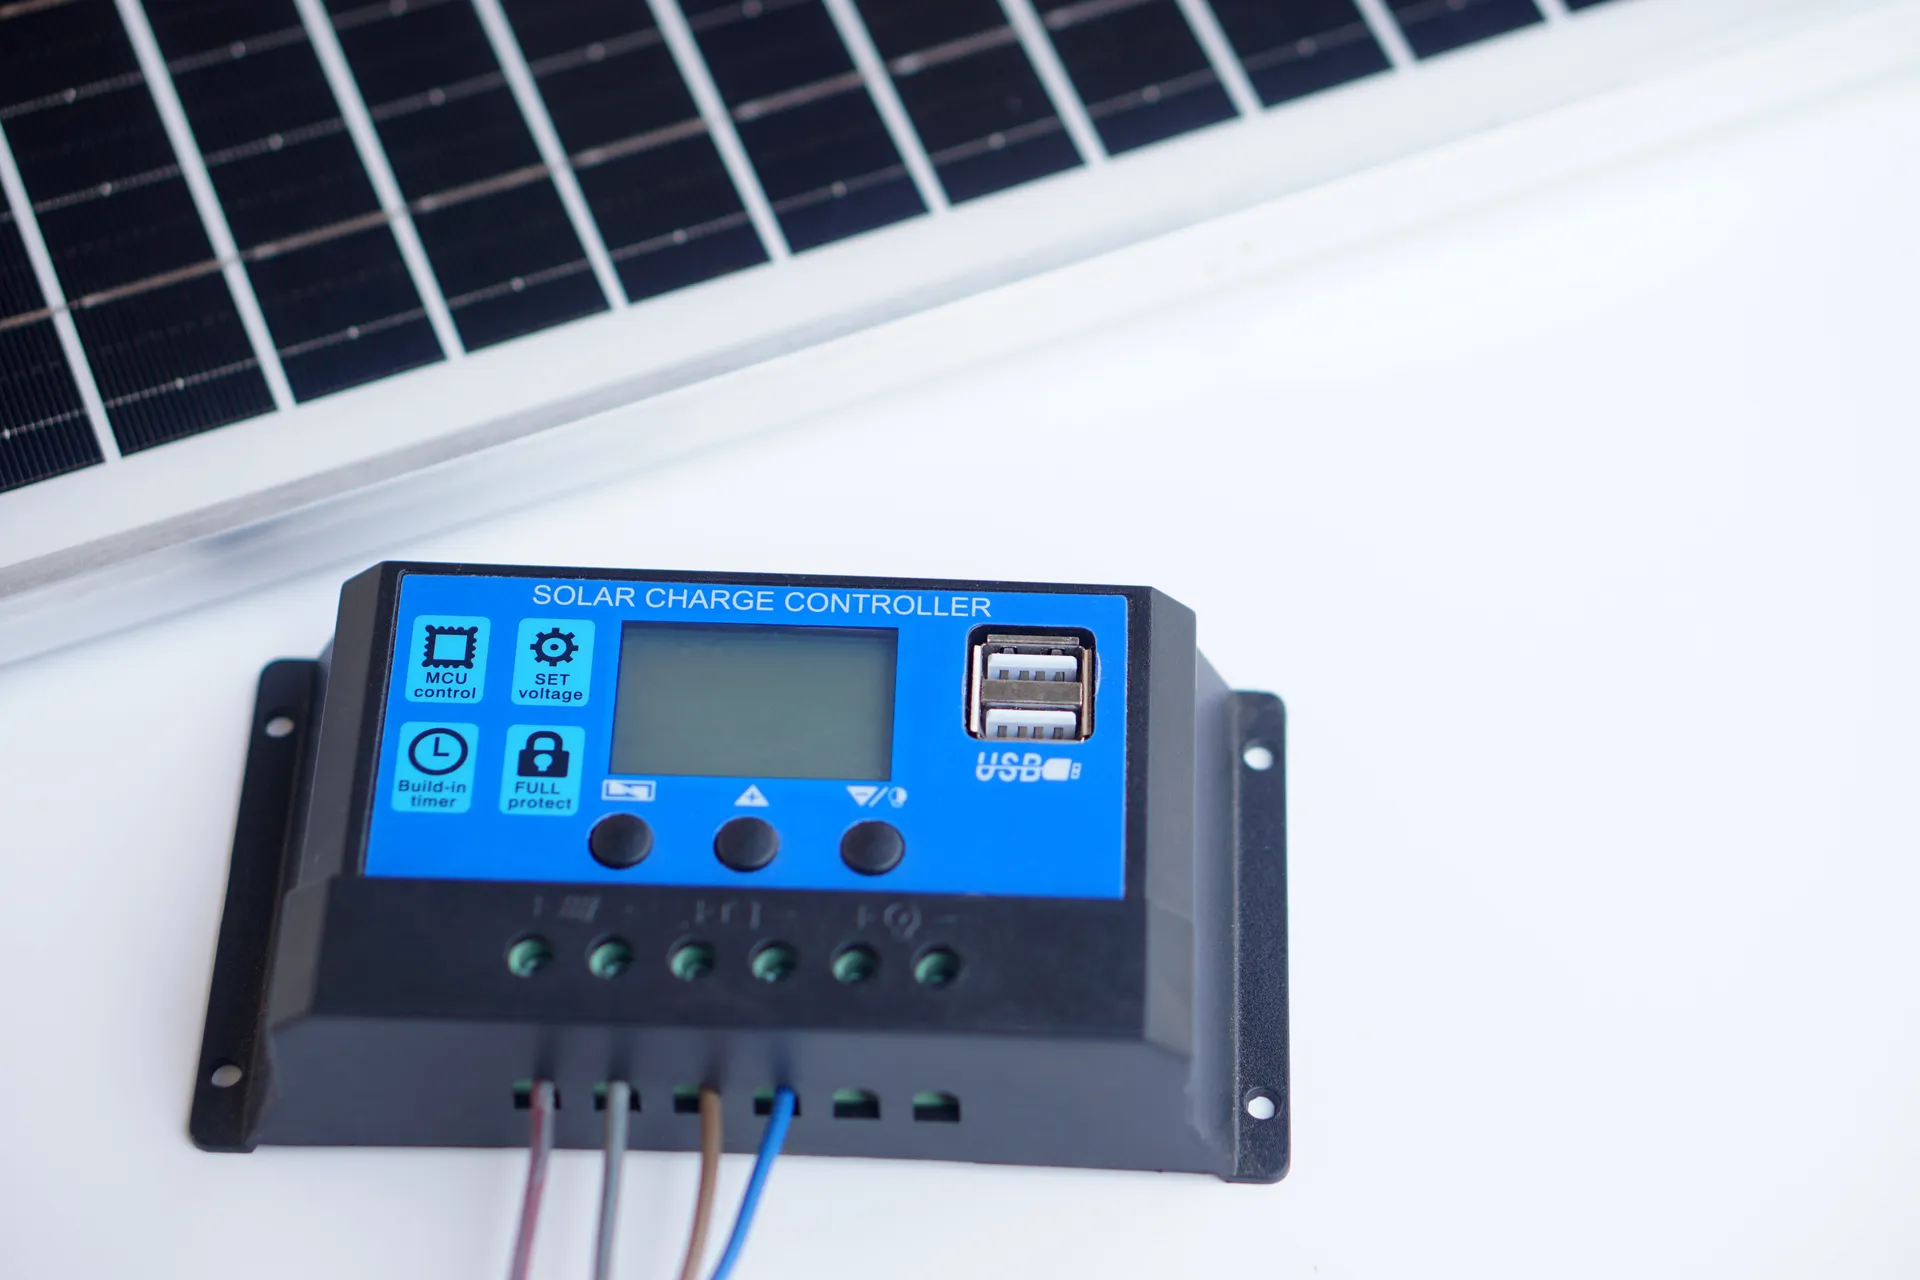
Running a fridge directly from a solar panel can work on bright, clear days, but it has limitations. Solar output rises and falls with clouds, shade and sun angle. A fridge, however, needs steady power.
Adding a charge controller and battery solves this problem. The charge controller regulates how power flows into the battery, protecting it from overcharging. The battery then supplies smooth, consistent power to your fridge and other devices, day and night.
This approach also allows you to:
- Use power after sunset
- Run more than one appliance
- Add extra panels or outputs later
- Protect expensive equipment from voltage spikes
Understanding how much solar power you need
Before choosing a panel and battery size, it helps to estimate how much power you’ll use each day.
To do this, list everything you plan to run – fridges, lights, phone chargers, fans or compressors. Most appliances list their current draw in amps. Multiply the amps by the number of hours used per day to get daily consumption.
Amps × hours per day = daily amp‑hours (Ah)
If an appliance only lists watts, you can estimate amps by dividing watts by volts.
Watts ÷ volts = amps (per hour)
Once you’ve calculated daily usage for each appliance, add them together to get your total daily power requirement.
Typical solar panel output
As a rough guide, assuming around eight hours of useful sunlight:
- 80 W panel – around 35 Ah per day
- 100 W panel – around 45 Ah per day
- 120 W panel – around 55 Ah per day
- 160 W panel – around 75 Ah per day
- 200 W panel – around 90 Ah per day
- 240 W panel – around 110 Ah per day
Actual performance will vary based on conditions and how the panel is positioned.
Battery size and safe limits

Common deep cycle battery sizes for camping include:
- 100 Ah
- 120 Ah
To avoid long‑term damage, it’s best not to discharge a deep cycle battery beyond 50–70% of its capacity. This means a 100 Ah battery realistically provides 50–70 Ah of usable power before it needs recharging. Always start a trip with your battery fully charged.
Example
A typical campsite might use:
- LED lights at 0.4 amps for 4 hours – 1.6 Ah
- Fridge at 2.5 amps for 24 hours – 60 Ah
- Phone charging at 1 amp for 1 hour – 1 Ah
Total daily usage is about 62.6 Ah, with a large portion used overnight when the solar panel is not producing power.
This kind of load pairs well with a 100 W panel and a 100–120 Ah battery, depending on weather and trip length.
How the wiring fits together
A practical camping system often follows this flow:
Solar panel → charge controller → battery → fused Anderson output → split outputs → appliances
Using a fused Anderson splitter on the live wire protects your equipment and allows one output to run the fridge while another remains available for lights or charging. Keeping connectors consistent across the system makes troubleshooting and upgrades far easier.
Common pitfalls to avoid
Many people struggle with the same issues when setting up their first solar system.
- Not fitting fuses between the battery and appliances
- Using cable that’s too thin, causing voltage drop
- Connecting the solar panel to the controller before the battery
- Mixing too many connector types
- Forgetting to account for shade, heat and cloudy weather
Taking the time to get these details right early on saves frustration later.
How to improve your system over time
Once the basics are sorted, small upgrades can greatly improve performance and convenience.
- Add a battery monitor to track power use
- Increase solar input with additional panels
- Upgrade to a lithium battery to reduce weight and increase usable capacity
- Use a 12‑volt distribution box to reduce adapters and clutter
Each improvement builds on the same core set‑up without needing to start again.
Power that grows with your camping style
While figuring out an off‑grid solar system can feel overwhelming at first, the end result is worth the effort.
Categories: