Upcycle an old lampshade with your favourite fabric
Whether it's an old doona, a favourite t-shirt or a lovely piece of fabric, check out our step-by-step guide to turning it into a bespoke lampshade.
Sometimes you have a great piece of fabric that you just can't let go of. Upcycling it into a lampshade or creating a custom shade is a great way to keep a favourite print and reduce waste.
Before you dive in, roughly check to see if you have enough to cover your existing lamp. If it's too short, you may be able to add some trim or extra fabric. You can also get a sense of how the fabric looks on the lamp.
Guide to re-covering an existing lampshade frame
Estimated time: 1–2 hours (depending on glue vs sewing)
Difficulty: easy–medium
What you’ll need
- Fabric (washed and ironed if its recycled)
- The lampshade frame you’re re-covering (or a spare frame)
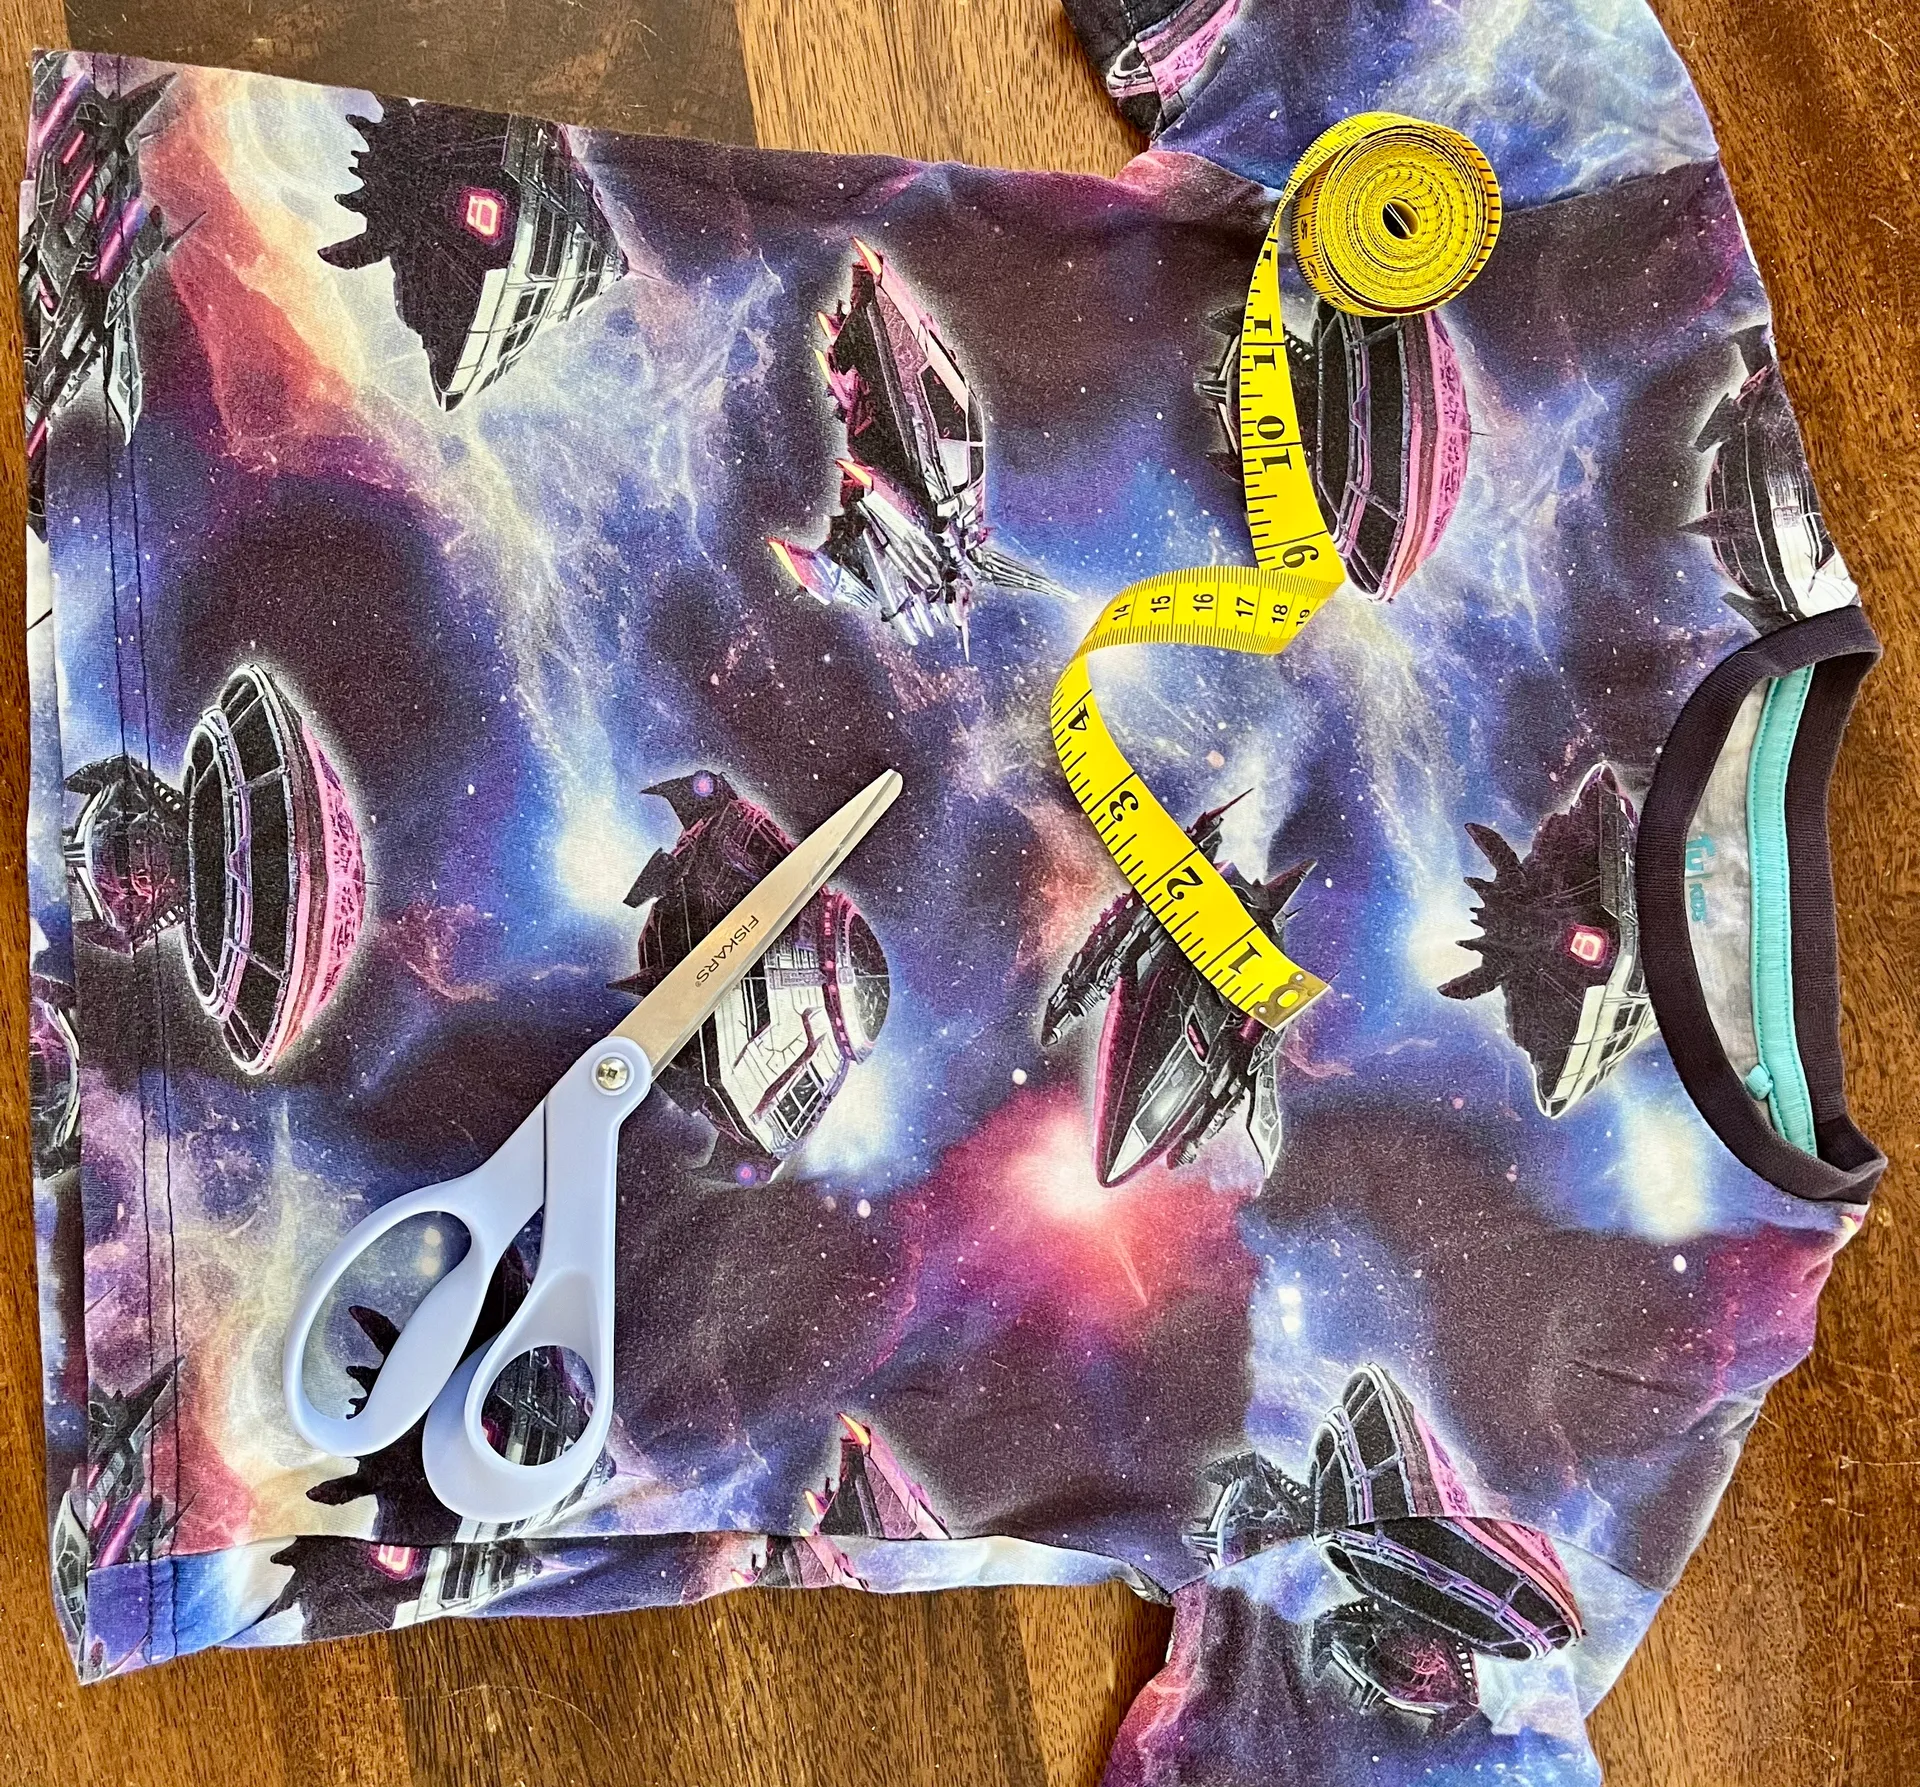
- Measuring tape, pencil/chalk, ruler
- Scissors (fabric scissors if possible)
- Butchers/brown paper or newspaper (for making a flat pattern)
- Pins, fabric clips or clothes pegs
- Fusible interfacing or heavy stabiliser (optional, for stiffness)
- Spray adhesive OR hot glue gun OR fabric glue (spray adhesive gives nicest result)
- Bias tape or ribbon (for neat top/bottom edges)
- Sewing needle & thread or sewing machine (optional — you can glue instead)
- Iron & ironing board
- LED bulb for final use (always safer — see safety notes below)
Re-covering an existing shade frame
Remove the shade from the lamp
Take photos so you remember how the fitter sits (spider, clip-on, uno). Unplug lamp first.
Take the old fabric off the frame
If it’s glued, use a seam ripper or gently peel glue — go slow so you don’t bend the wires. Keep the frame intact.
Make a flat paper template (this is the easiest way to get a correct tapered shape)
- Lay a long strip of butcher paper on the table.
- Stand the lampshade on its side on the paper. Roll the shade along the paper while holding a pencil at the top and bottom edges so you trace the top and bottom curves — you’ll end up with a single flat piece that exactly matches the shade’s curve. Mark the vertical seam line.
- Cut out the paper template.
Measure and plan the fabric cut
- Width = bottom circumference (wrap measuring tape around bottom) + overlap (allow ~2 cm for overlap).
- Height = shade height + seam allowances (add ~4 cm total — 2 cm top + 2 cm bottom so you can fold and finish).
- If using the paper template, pin it to the quilt fabric and trace around it instead — this ensures the taper and curves are accurate. Example (for illustration): if bottom diameter = 30 cm, bottom circumference = π × 30 ≈ 94.25 cm. Add 2 cm overlap → 96.25 cm final width. If height = 20 cm, add 4 cm → 24 cm final height.
Cut your fabric & interfacing
- If the quilt cover has a heavy print or patching, pick the area you want to show.
- Cut the interfacing slightly smaller than the fabric panel so it doesn’t show on edges.
- Optional — add batting for a padded look: cut batting to the same size and layer it between frame and fabric.
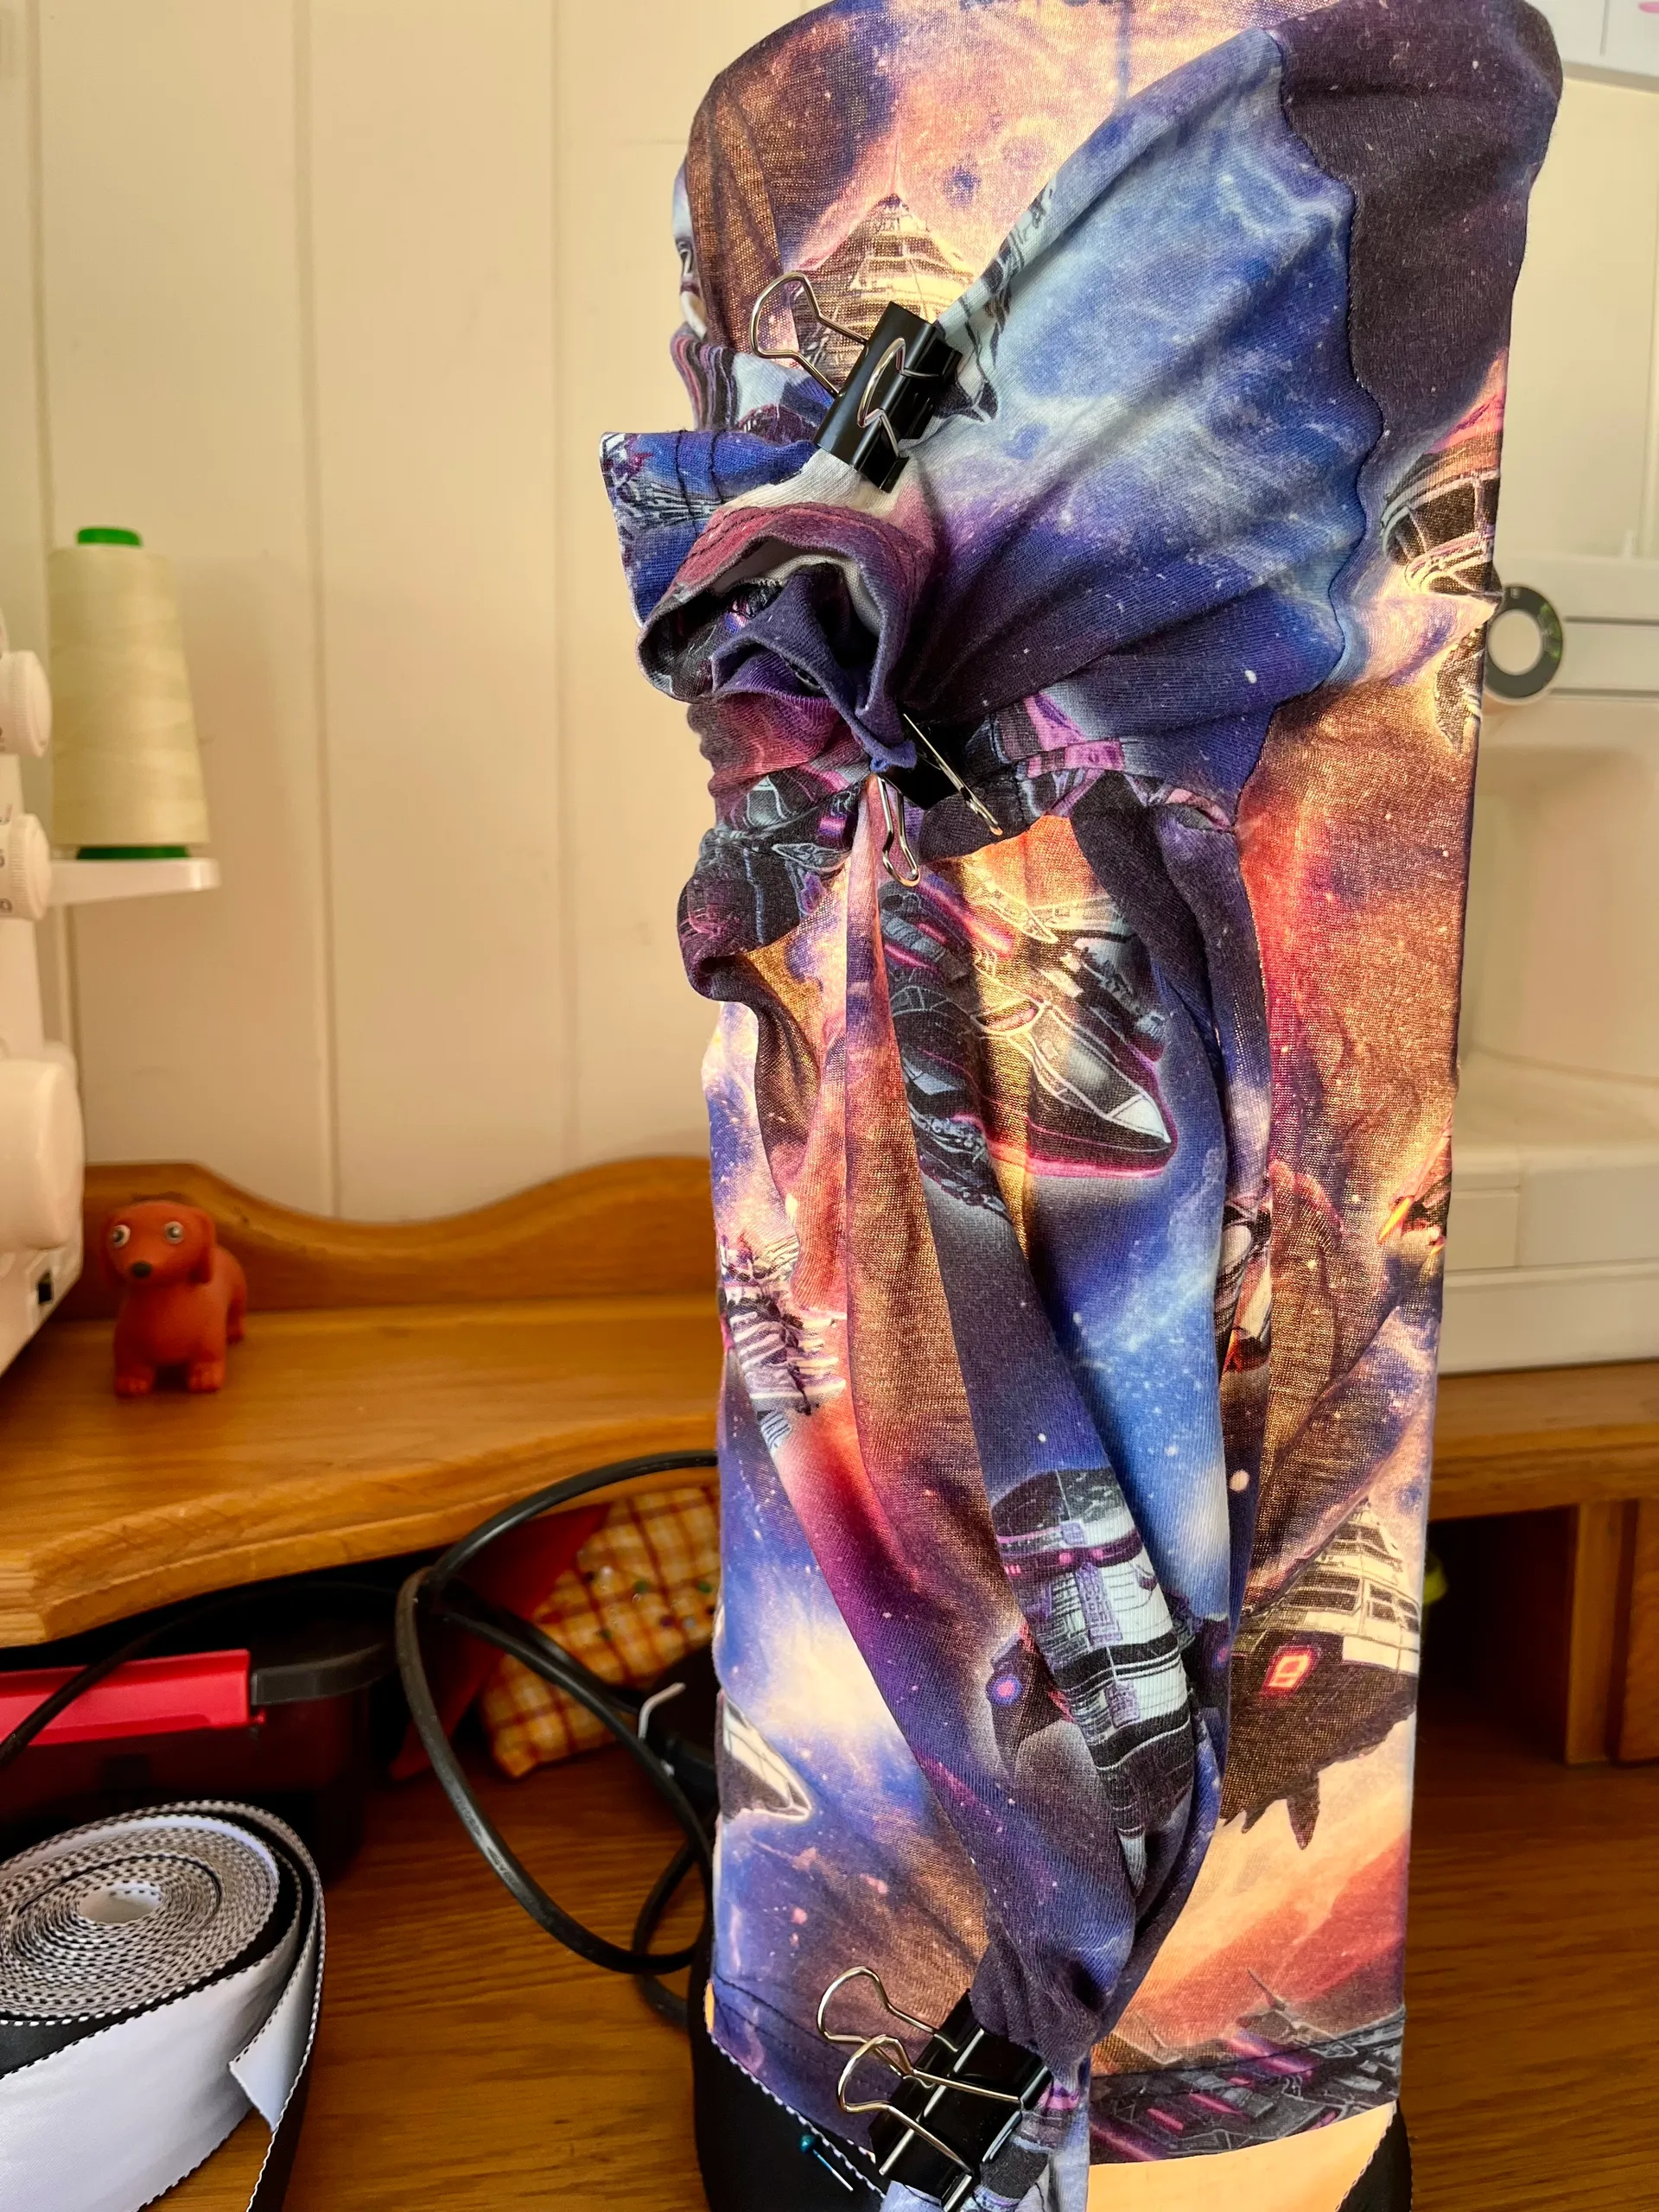
Attach the fabric to the frame
- Spray adhesive method (smoothest look): spray adhesive onto the outside of the lampshade frame (or onto the wrong side of fabric if instructed by adhesive). Position the fabric, smoothing as you go to avoid bubbles. Fold and secure top edge first (wrap over the top wire), then the bottom. Trim excess. Finish the vertical seam with a small overlap glued or hand-stitched neatly.
- Glue + bias tape: glue the ends and use hot glue for quick cure on wires; finish top and bottom edges by gluing folded bias tape over the raw edges for a crisp look.
- Sewing option: if you prefer, sew the long seam first, press seam open, then slip the fabric over the frame and hand-stitch or glue top/bottom edges under to the frame. Finish the edges neatly: apply bias binding or ribbon to both top and bottom. You can glue the binding over the folded fabric edges or stitch it in place.
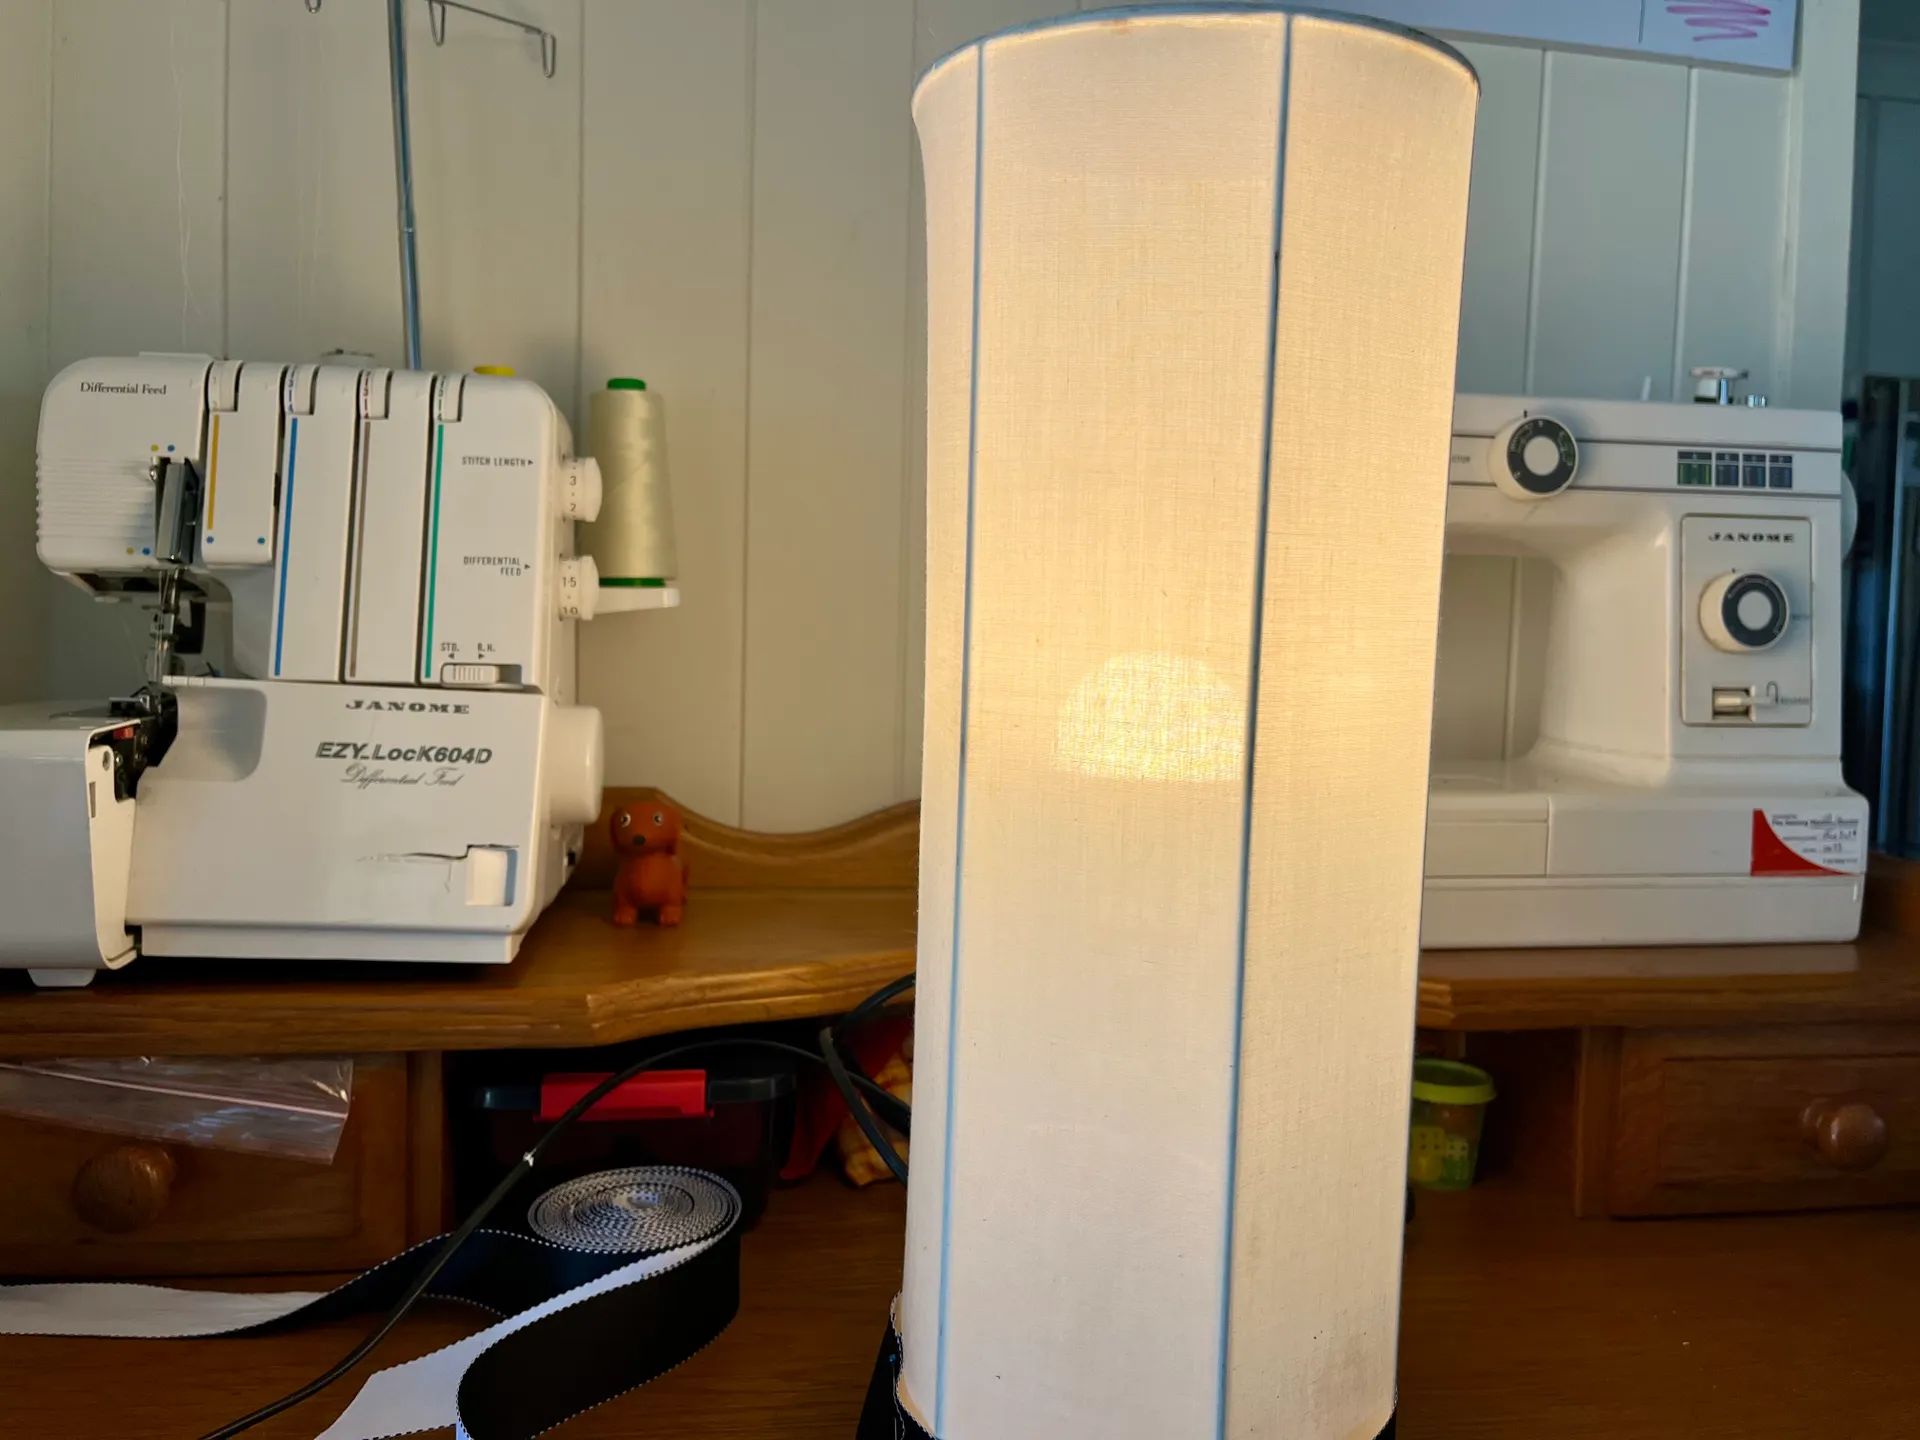
- Trim and check fit: make sure no fabric sags into the interior space where the bulb will sit. Reattach shade to lamp.
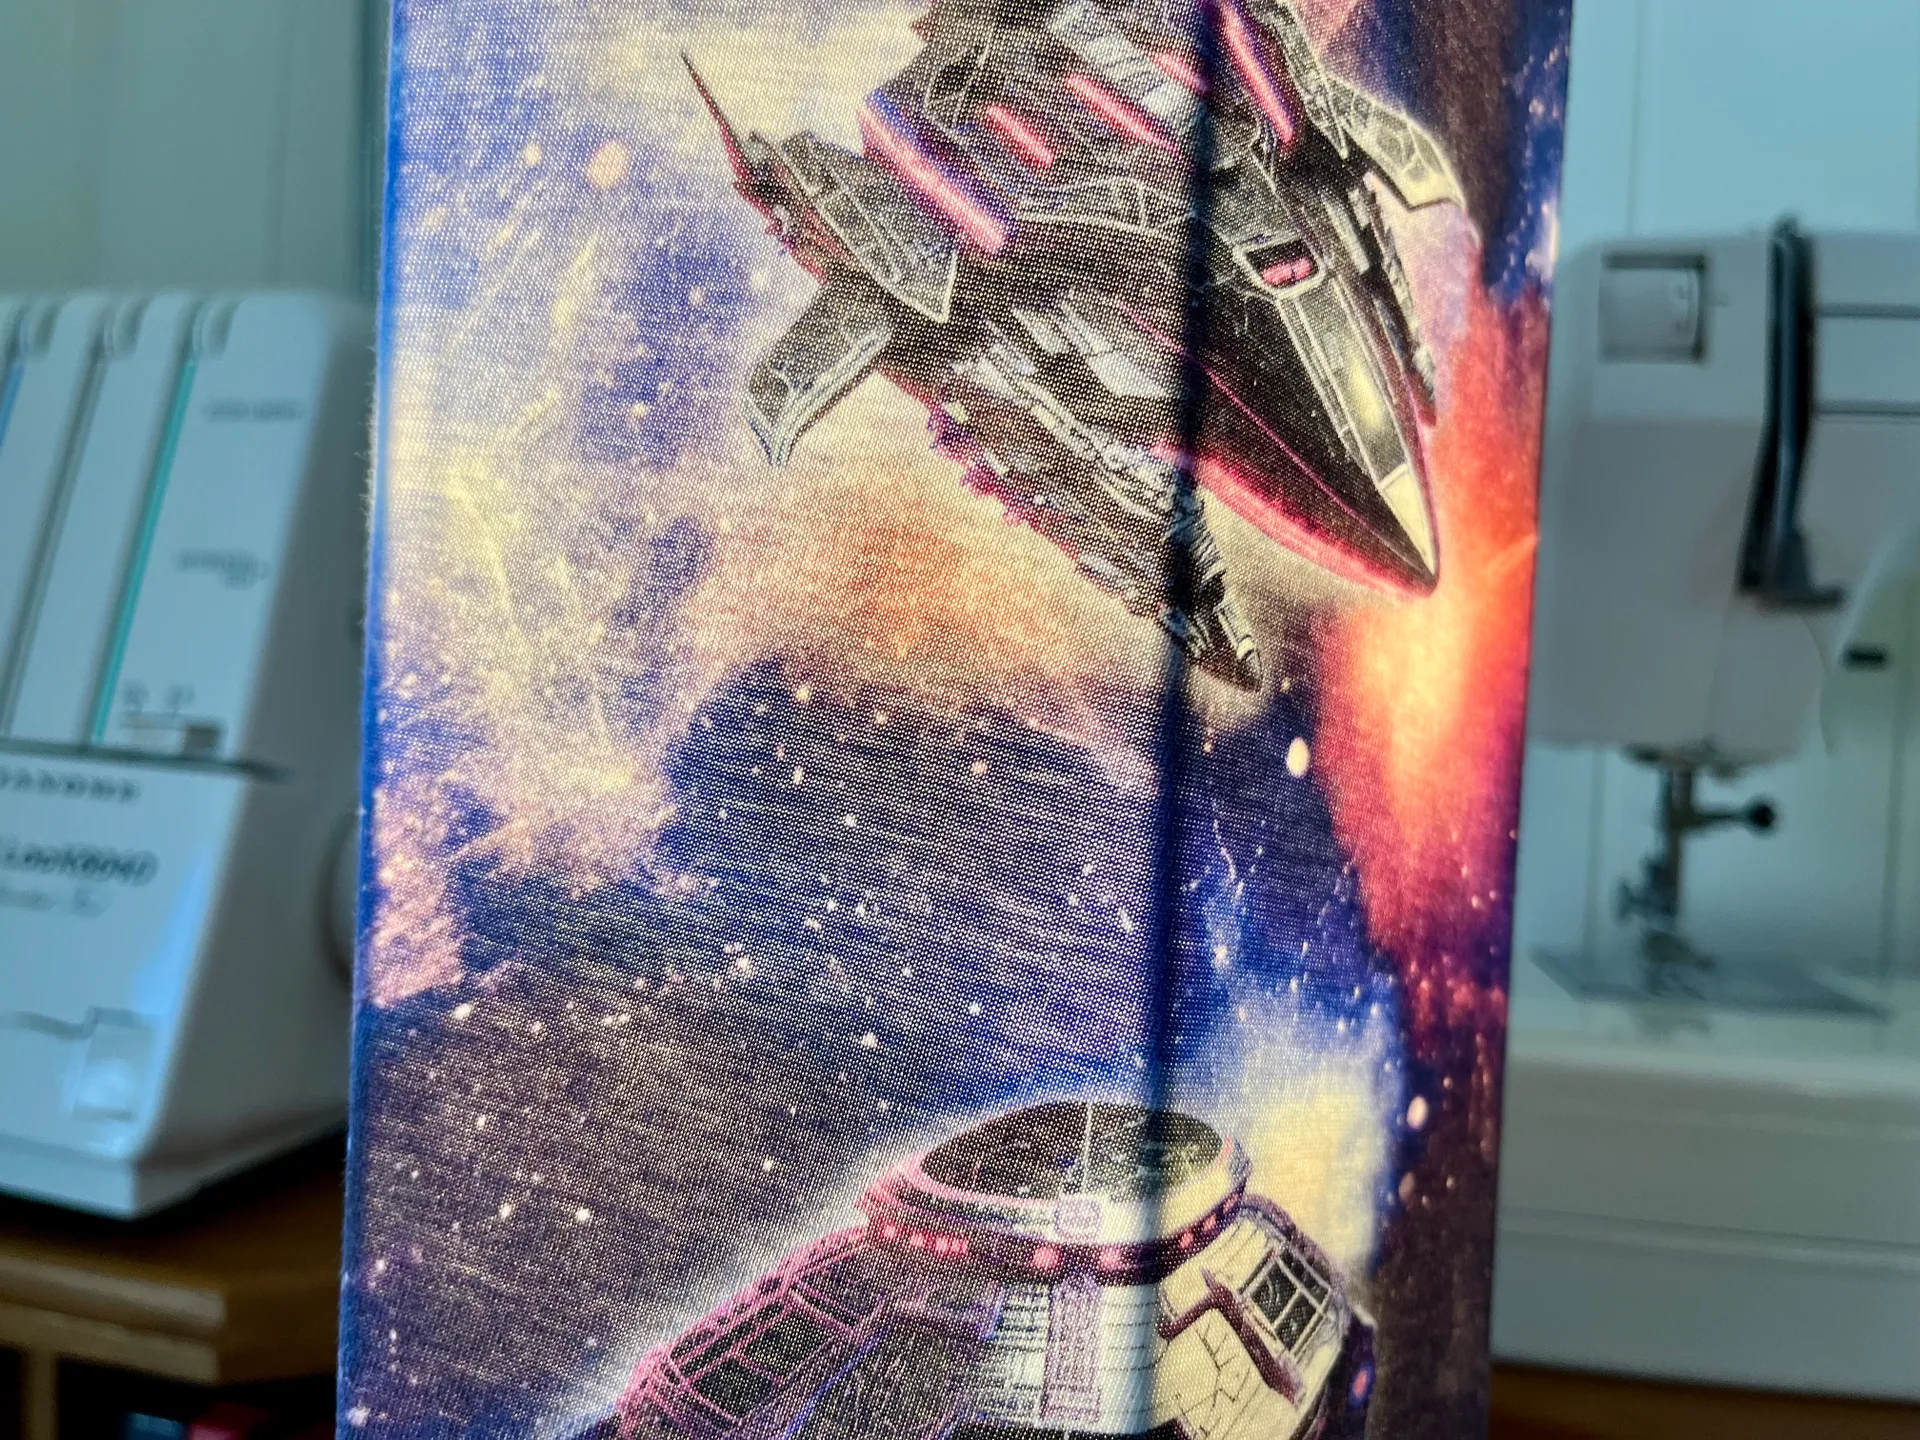
Pattern and aesthetic tips
- Lay out the fabric so a pleasing motif sits at the centre-front of the shade.
- If the quilt fabric pattern is directional, make sure the top and bottom align visually.
- For a vintage/padded look, sandwich cotton batting between fabric and interfacing.
- If your quilt is very thick, trim inner batting near wire areas so the fabric sits smoothly.
Safety checklist (important)
- Use LED bulbs — they emit much less heat. Avoid incandescent/halogen bulbs.
- Observe the lamp’s max wattage sticker and don’t exceed it. LEDs with equivalent brightness use far less wattage.
- Make sure the fabric does not touch the bulb and that there’s ventilation. Check for sagging after installation.
- If concerned about flame resistance, use a commercial fabric flame-retardant spray per product instructions, or line the shade with heat-resistant lining sold for lampshades.
- After finishing, run the lamp for several minutes and check the fabric and frame for heat. If it gets warm to the touch quickly, re-evaluate (change bulb or add more distance/lining).
Quick troubleshooting
- Bubbles or creases: peel back a small area, reapply adhesive and smooth with a ruler.
- Visible raw edge inside: add bias tape or glue a thin ribbon inside to hide it.
- Fabric too short: re-cut leaving more overlap, or add a narrow vertical seam and cover with trim.