Make your own butter and buttermilk at home
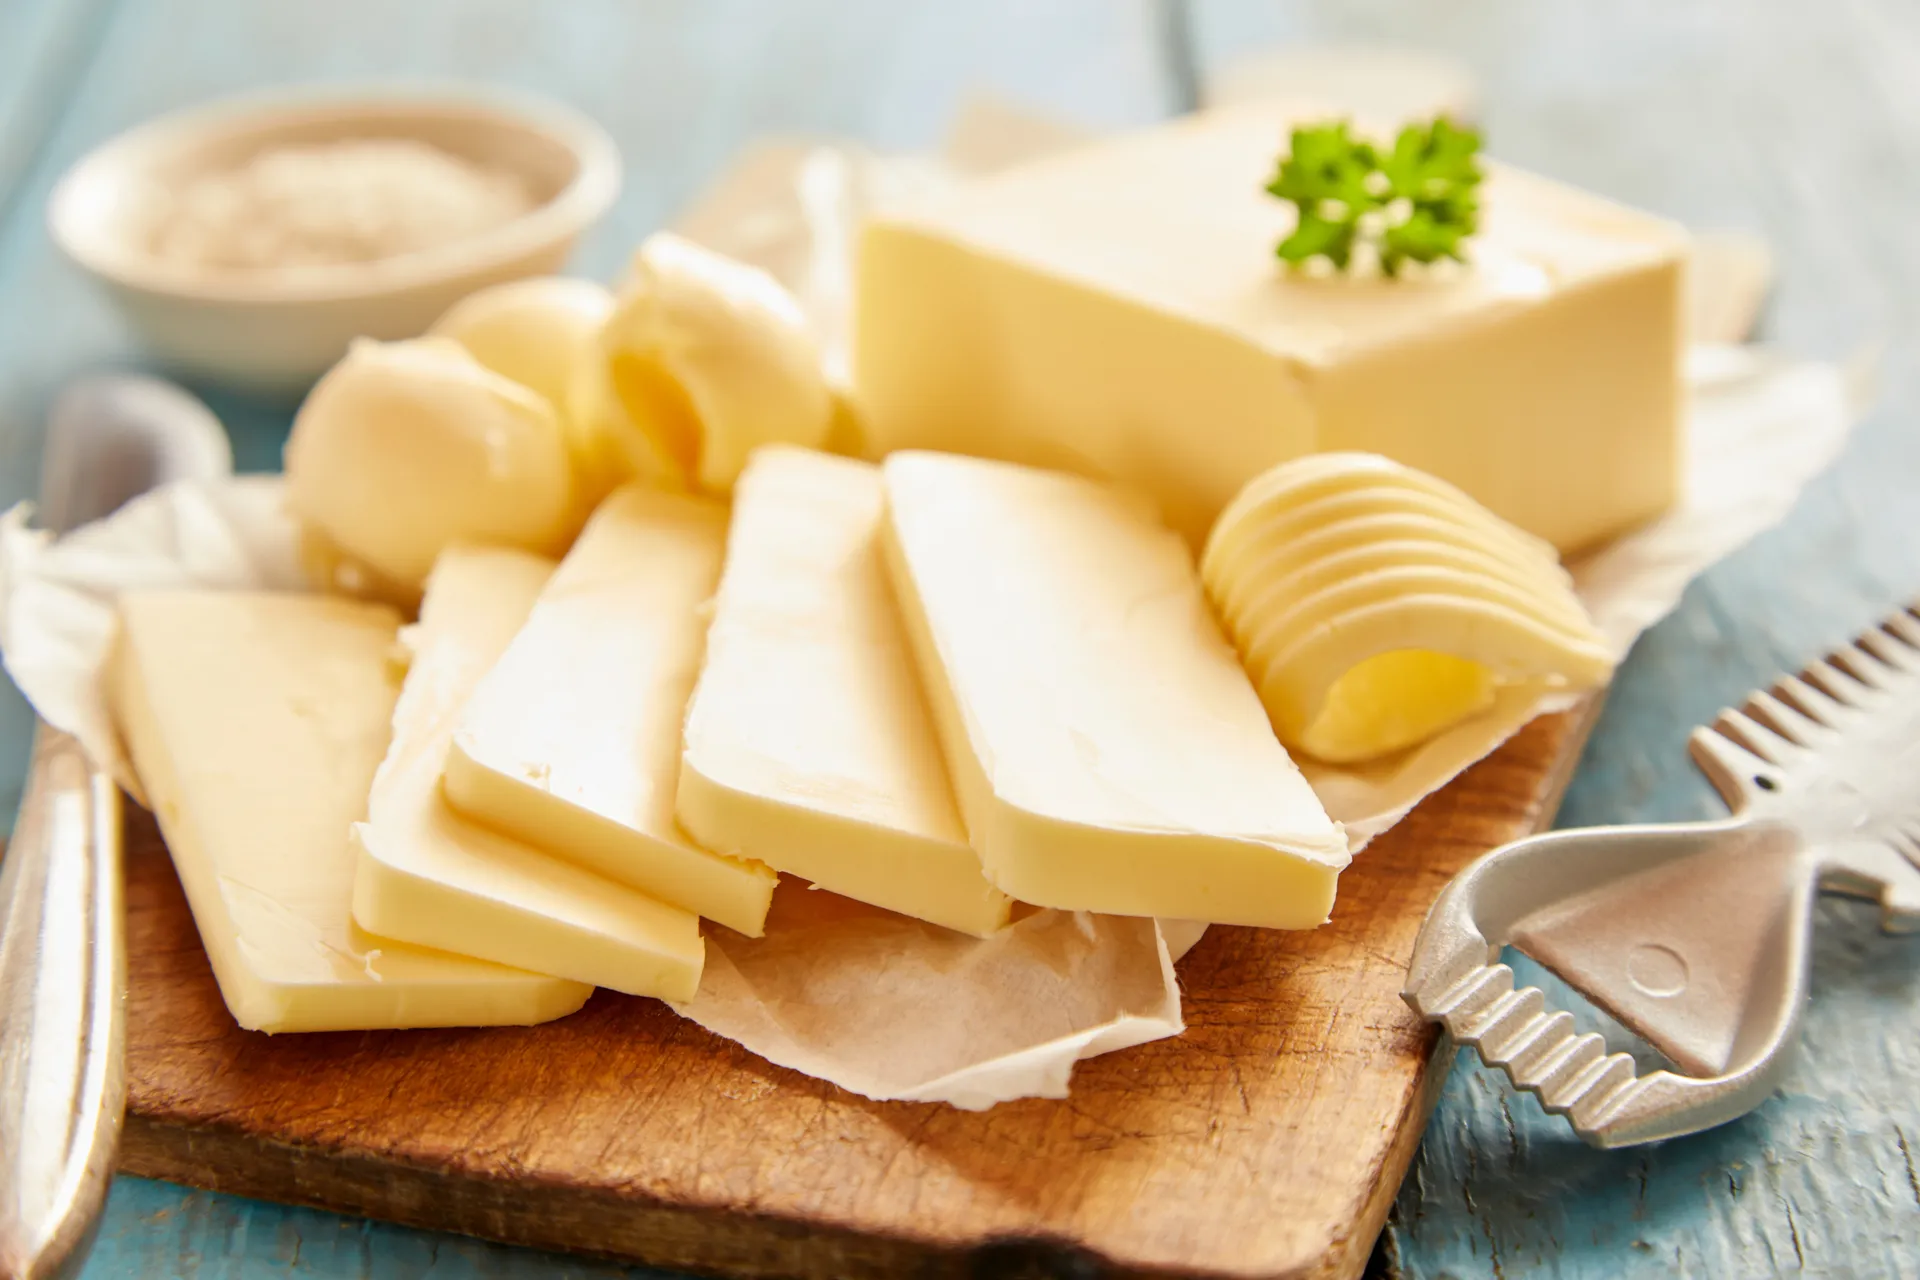
In a few minutes, and minimal effort, you can turn a $4 bottle of cream into 250g of butter and 250ml buttermilk!
Making butter at home is a simple, satisfying way to reduce waste, save money, and enjoy fresher, tastier spreads.
Plus, you get a bonus by-product: buttermilk, perfect for baking! Whether you have a thermocooker or a standard food processor, this guide will walk you through the process.
🥛 What You’ll Need
- 600 ml thickened cream (preferably with no additives)
- A pinch of salt (optional, for salted butter)
- Cold water
- Muslin cloth or fine strainer
👩🍳 Method 1: Using a Thermocooker
- Add cream to the bowl. Insert the butterfly whisk if your model requires it.
- Whip on speed 4 for 1–3 minutes until the cream thickens and separates into butter and buttermilk. Machines vary, so keep going until you see the cream separates.
- Strain the mixture through the simmering basket, a muslin cloth or fine sieve. Reserve the buttermilk.
- Return the butter to the bowl with 500g cold water. Mix on speed 4 for 5-10 seconds. The liquids and solids should separate again.
- Strain again and reserve the butter. Shape into a sausage shape or place into a butter container.
- Add salt if desired and shape into a block or roll.
Tip: To make the butter speadable, add 50g oil, and whip on speed 4 for 15 seconds.
⚙️ Method 2: Using a Food Processor
- Pour cream into the bowl and process on high for 5–10 minutes.
- First, it will turn into whipped cream, then clump into butter as the buttermilk separates.
- Strain and rinse as above.
- Salt and store your butter in an airtight container in the fridge.
📏 Yield from 600 ml of Cream
- Butter: 250–300 g
- Buttermilk: 250–300 ml
Yields may vary slightly depending on the cream’s fat content and how thoroughly the butter is rinsed.
Storage
Butter will keep sealed in the freezer for up to 3 months or sealed in the fridge for up to 2 weeks.
🧾 Nutritional Value of Cream (per 100 ml)
| Nutrient | Amount |
| Energy | 1450 kJ |
| Protein | 2.1 g |
| Fat (total) | 35 g |
| – Saturated Fat | 23 g |
| Carbohydrates | 2.9 g |
| – Sugars | 2.9 g |
| Calcium | 66 mg |
Values may vary slightly depending on brand and fat content.
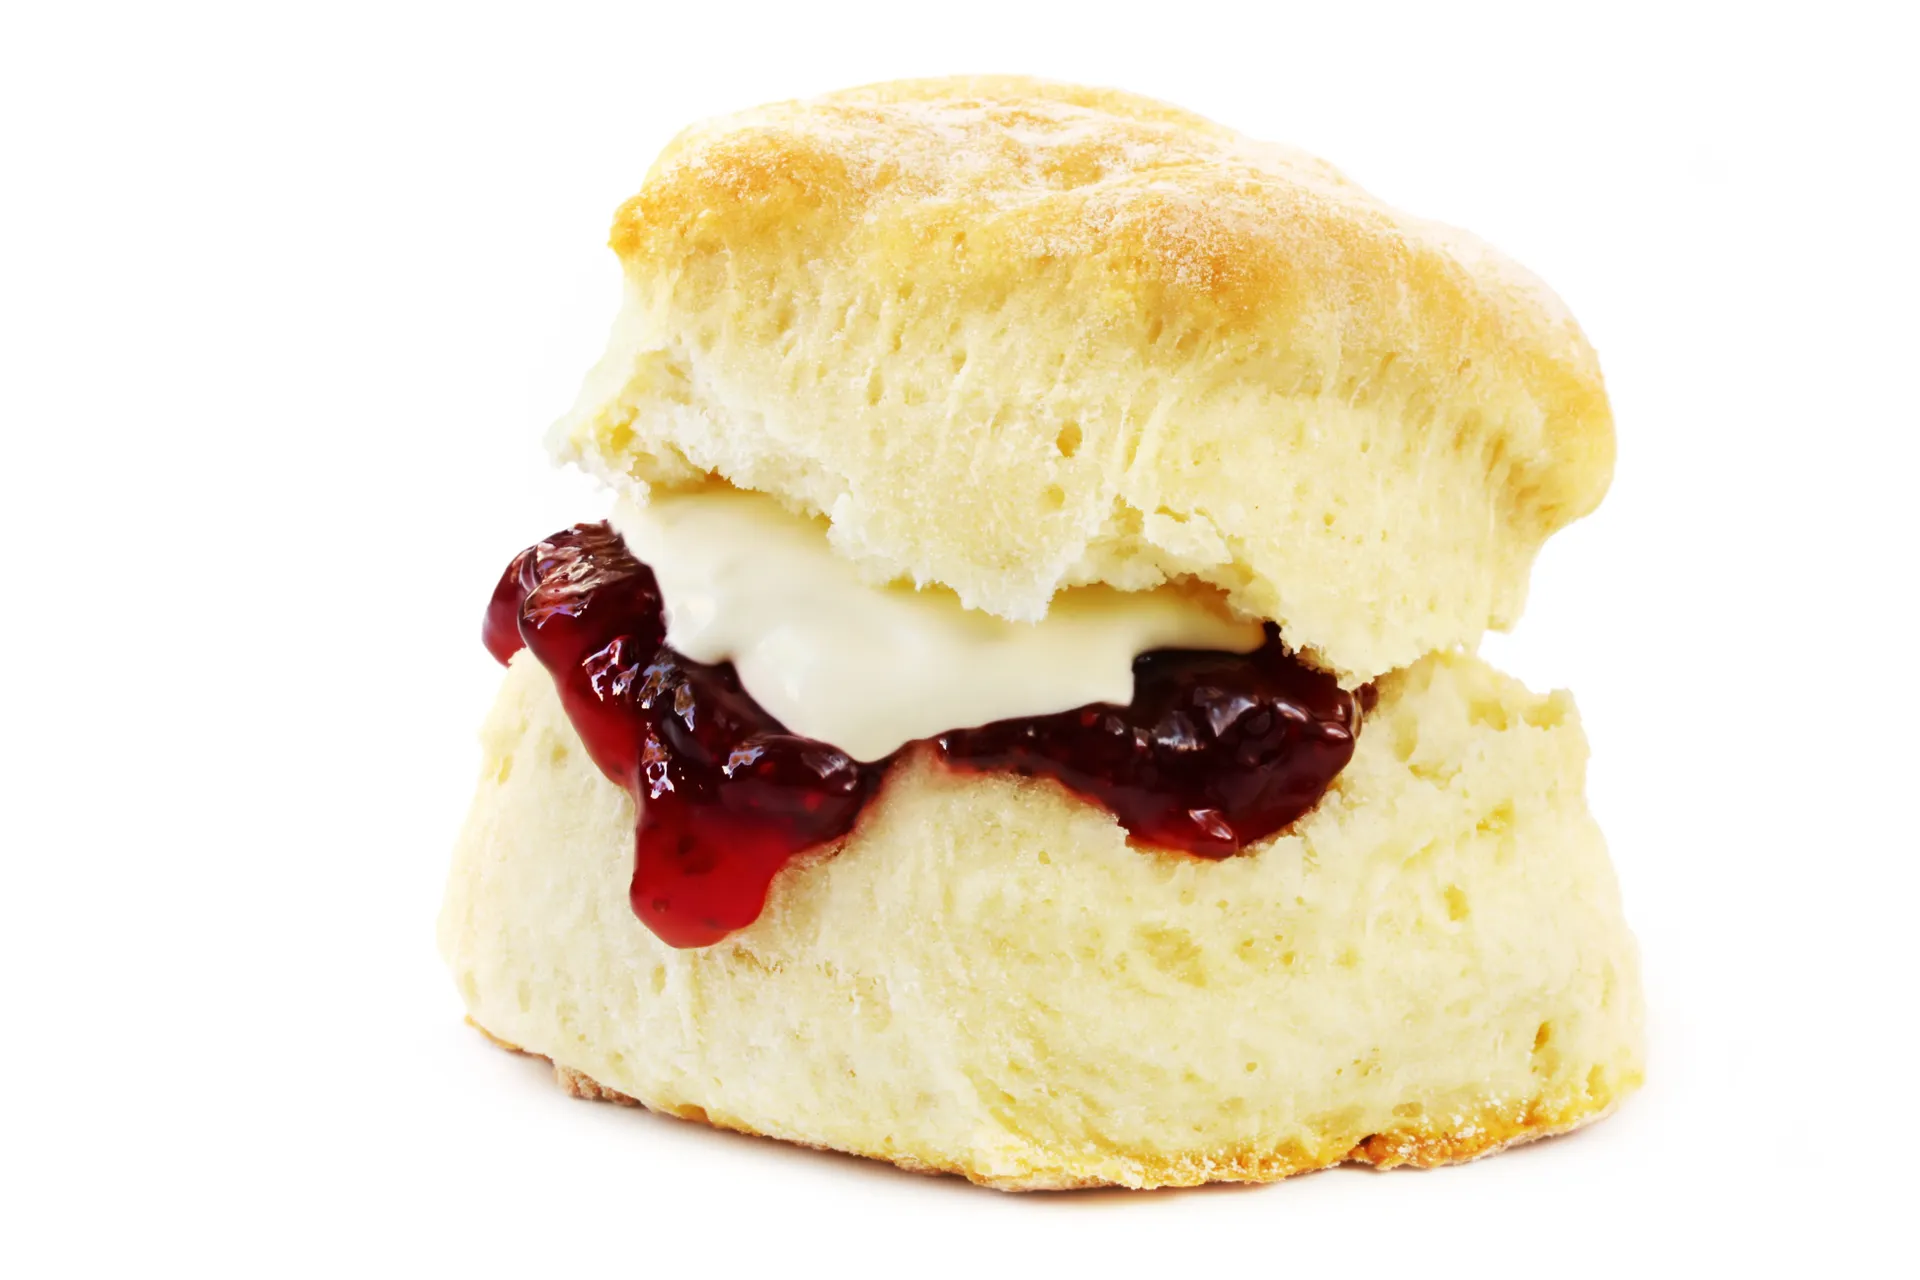
🍰 Recipe: Buttermilk Scones
Put your fresh buttermilk to good use with this classic Aussie favourite.
Ingredients:
- 2 cups self-raising flour
- ¼ tsp salt
- 60 g cold butter, cubed
- ¾ cup buttermilk (plus extra for brushing)
Method:
- Preheat oven to 220°C (200°C fan-forced).
- Sift flour and salt into a bowl. Rub in butter until mixture resembles breadcrumbs.
- Add buttermilk and mix gently to form a soft dough.
- Turn onto a floured surface, knead lightly, and press to 2 cm thickness.
- Cut into rounds, place on a tray, and brush tops with buttermilk.
- Bake for 12–15 minutes or until golden. Serve warm with your homemade butter!
🌱 Living Smart Tip
Making your own butter reduces packaging waste and gives you full control over ingredients. Try using organic or local cream for an even more sustainable option.